Home Blog Page 15

Amish Tulips Bed Quilt: Free Traditional Ann Boyce Pattern

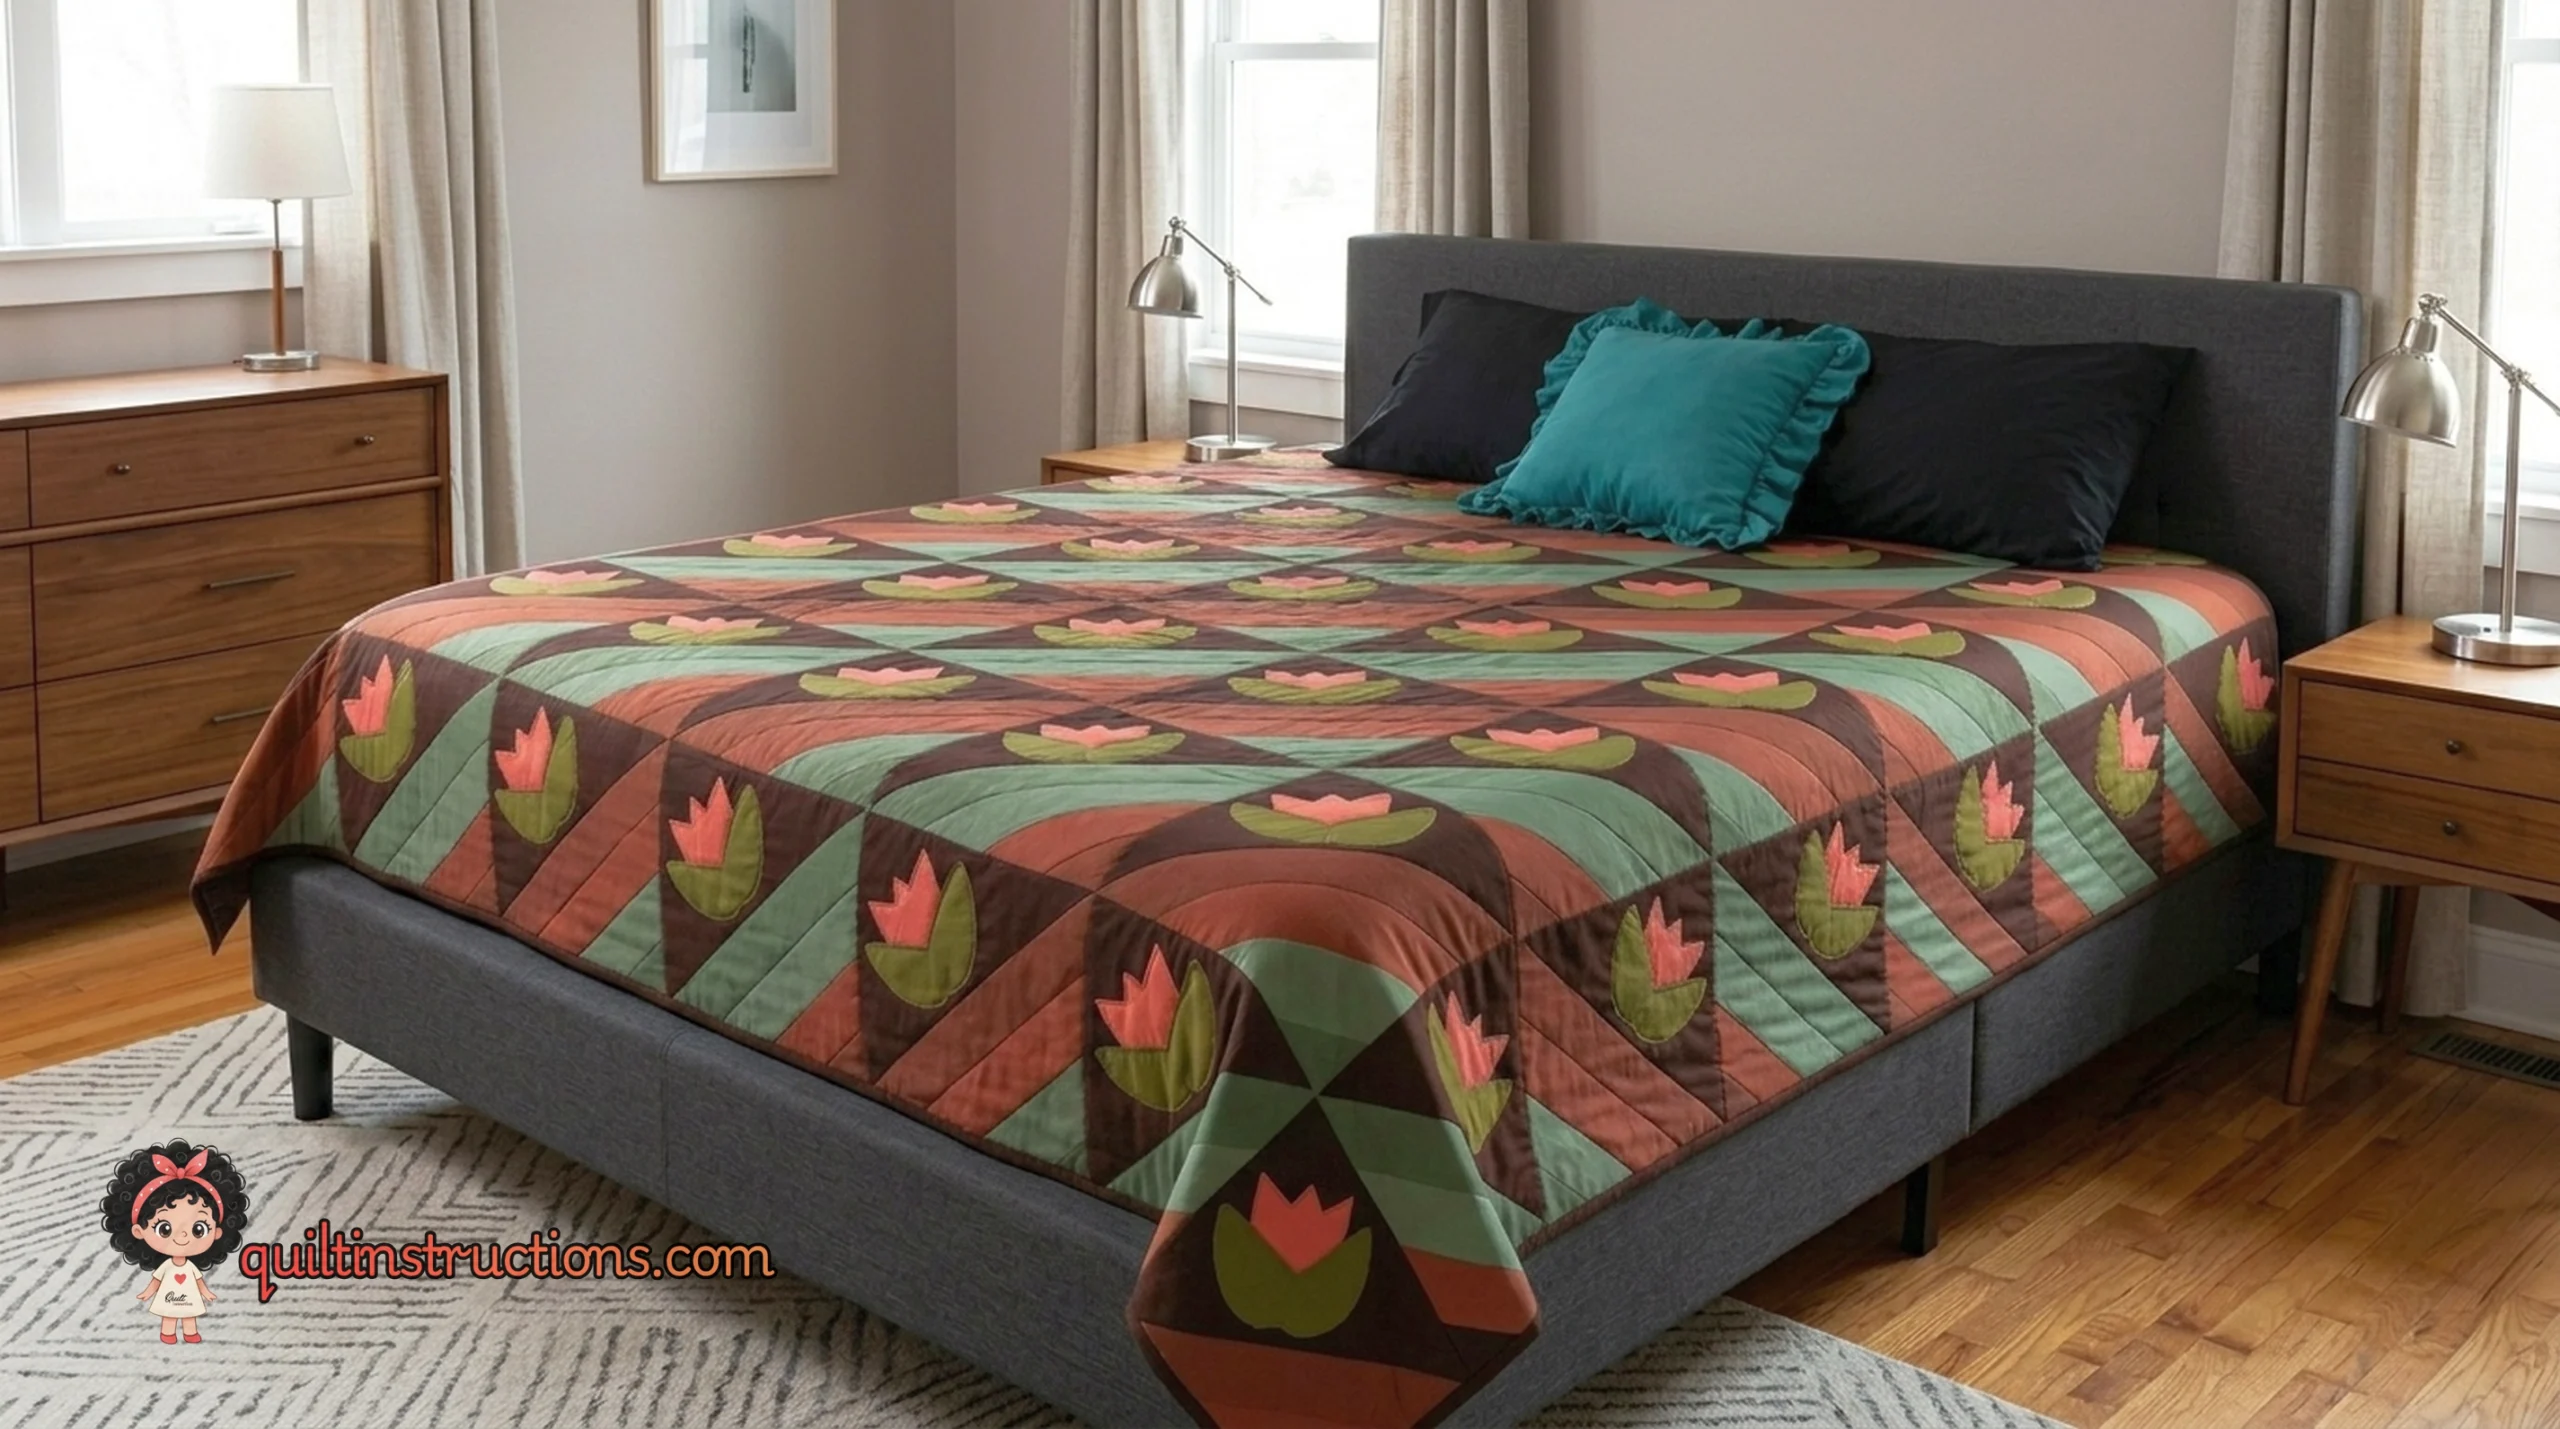
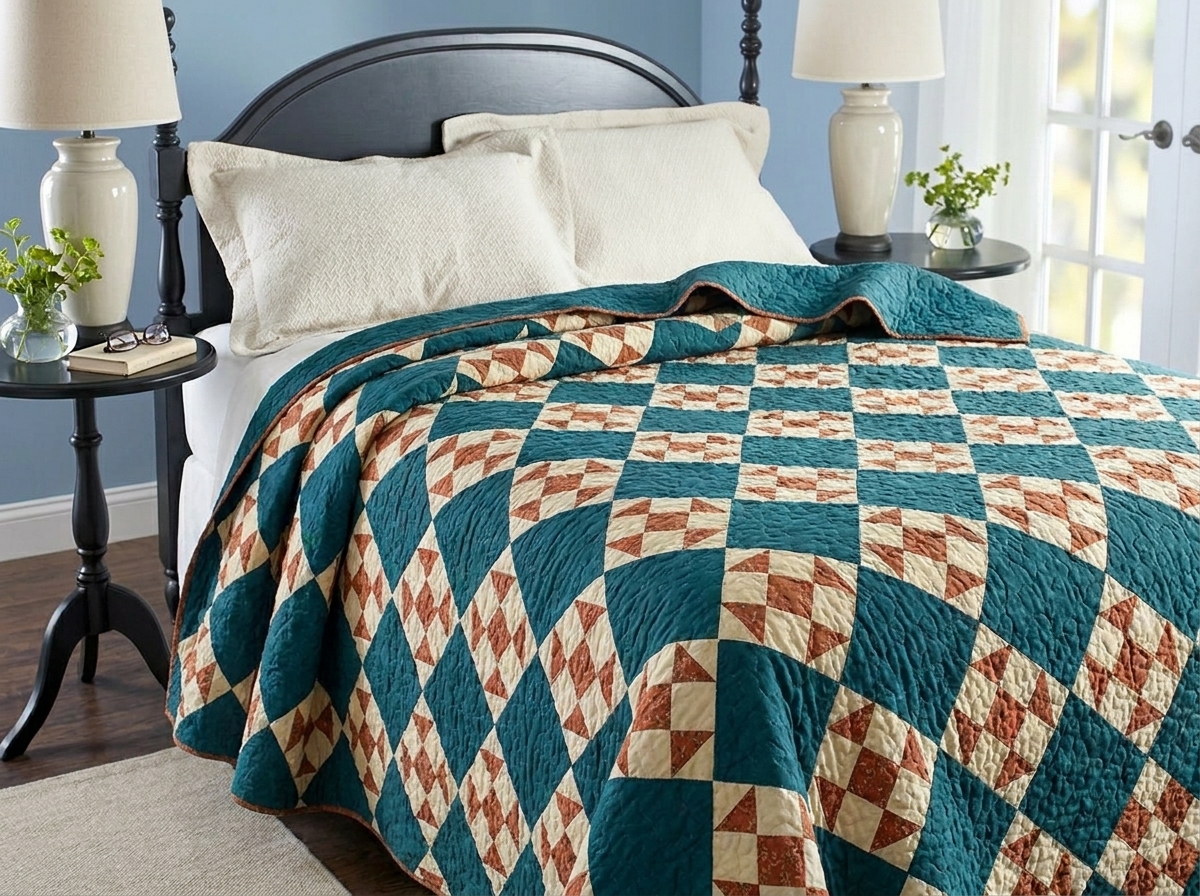
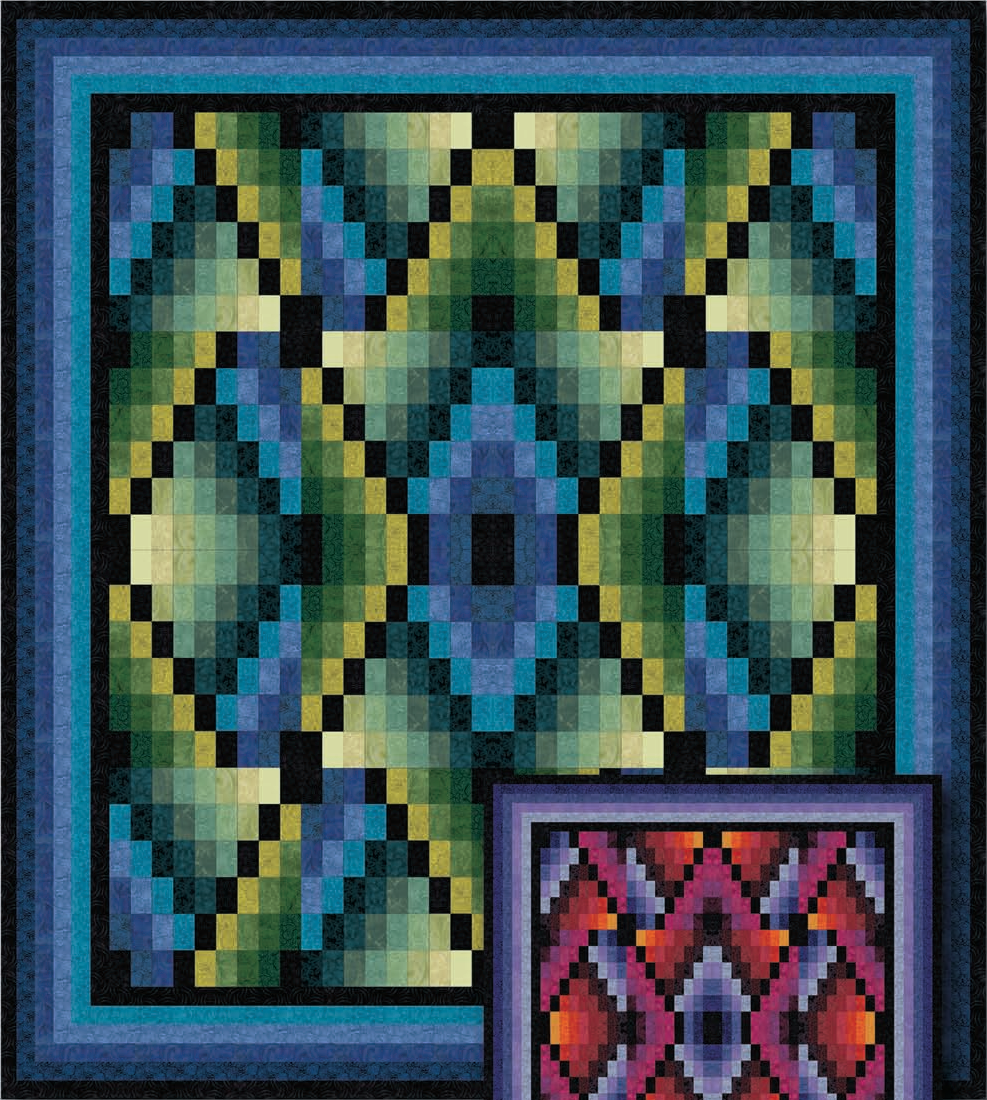
The Amish Tulips Bed Quilt is a striking project that brings the timeless elegance of traditional Amish design into the modern bedroom. Created by renowned designer Ann Boyce, this pattern utilizes high-contrast solid fabrics to create a bold, floral aesthetic that is both sophisticated and deeply rooted in quilting history. The finished quilt measures a generous 84″ x 100″, making it an ideal choice for those looking to create a functional and decorative piece for a queen or king-sized bed.

By following this free PDF guide, quilters can master the art of working with saturated solids and precise tulip block construction. The design focuses on clean lines and the iconic “glow” that occurs when bright jewel tones are set against a deep black or navy background. Whether you are an intermediate quilter or an advanced maker looking for a classic project, this pattern provides a structured approach to creating a high-impact heirloom.

Amish Tulips Bed Quilt: A Bold Traditional Pattern by Ann Boyce
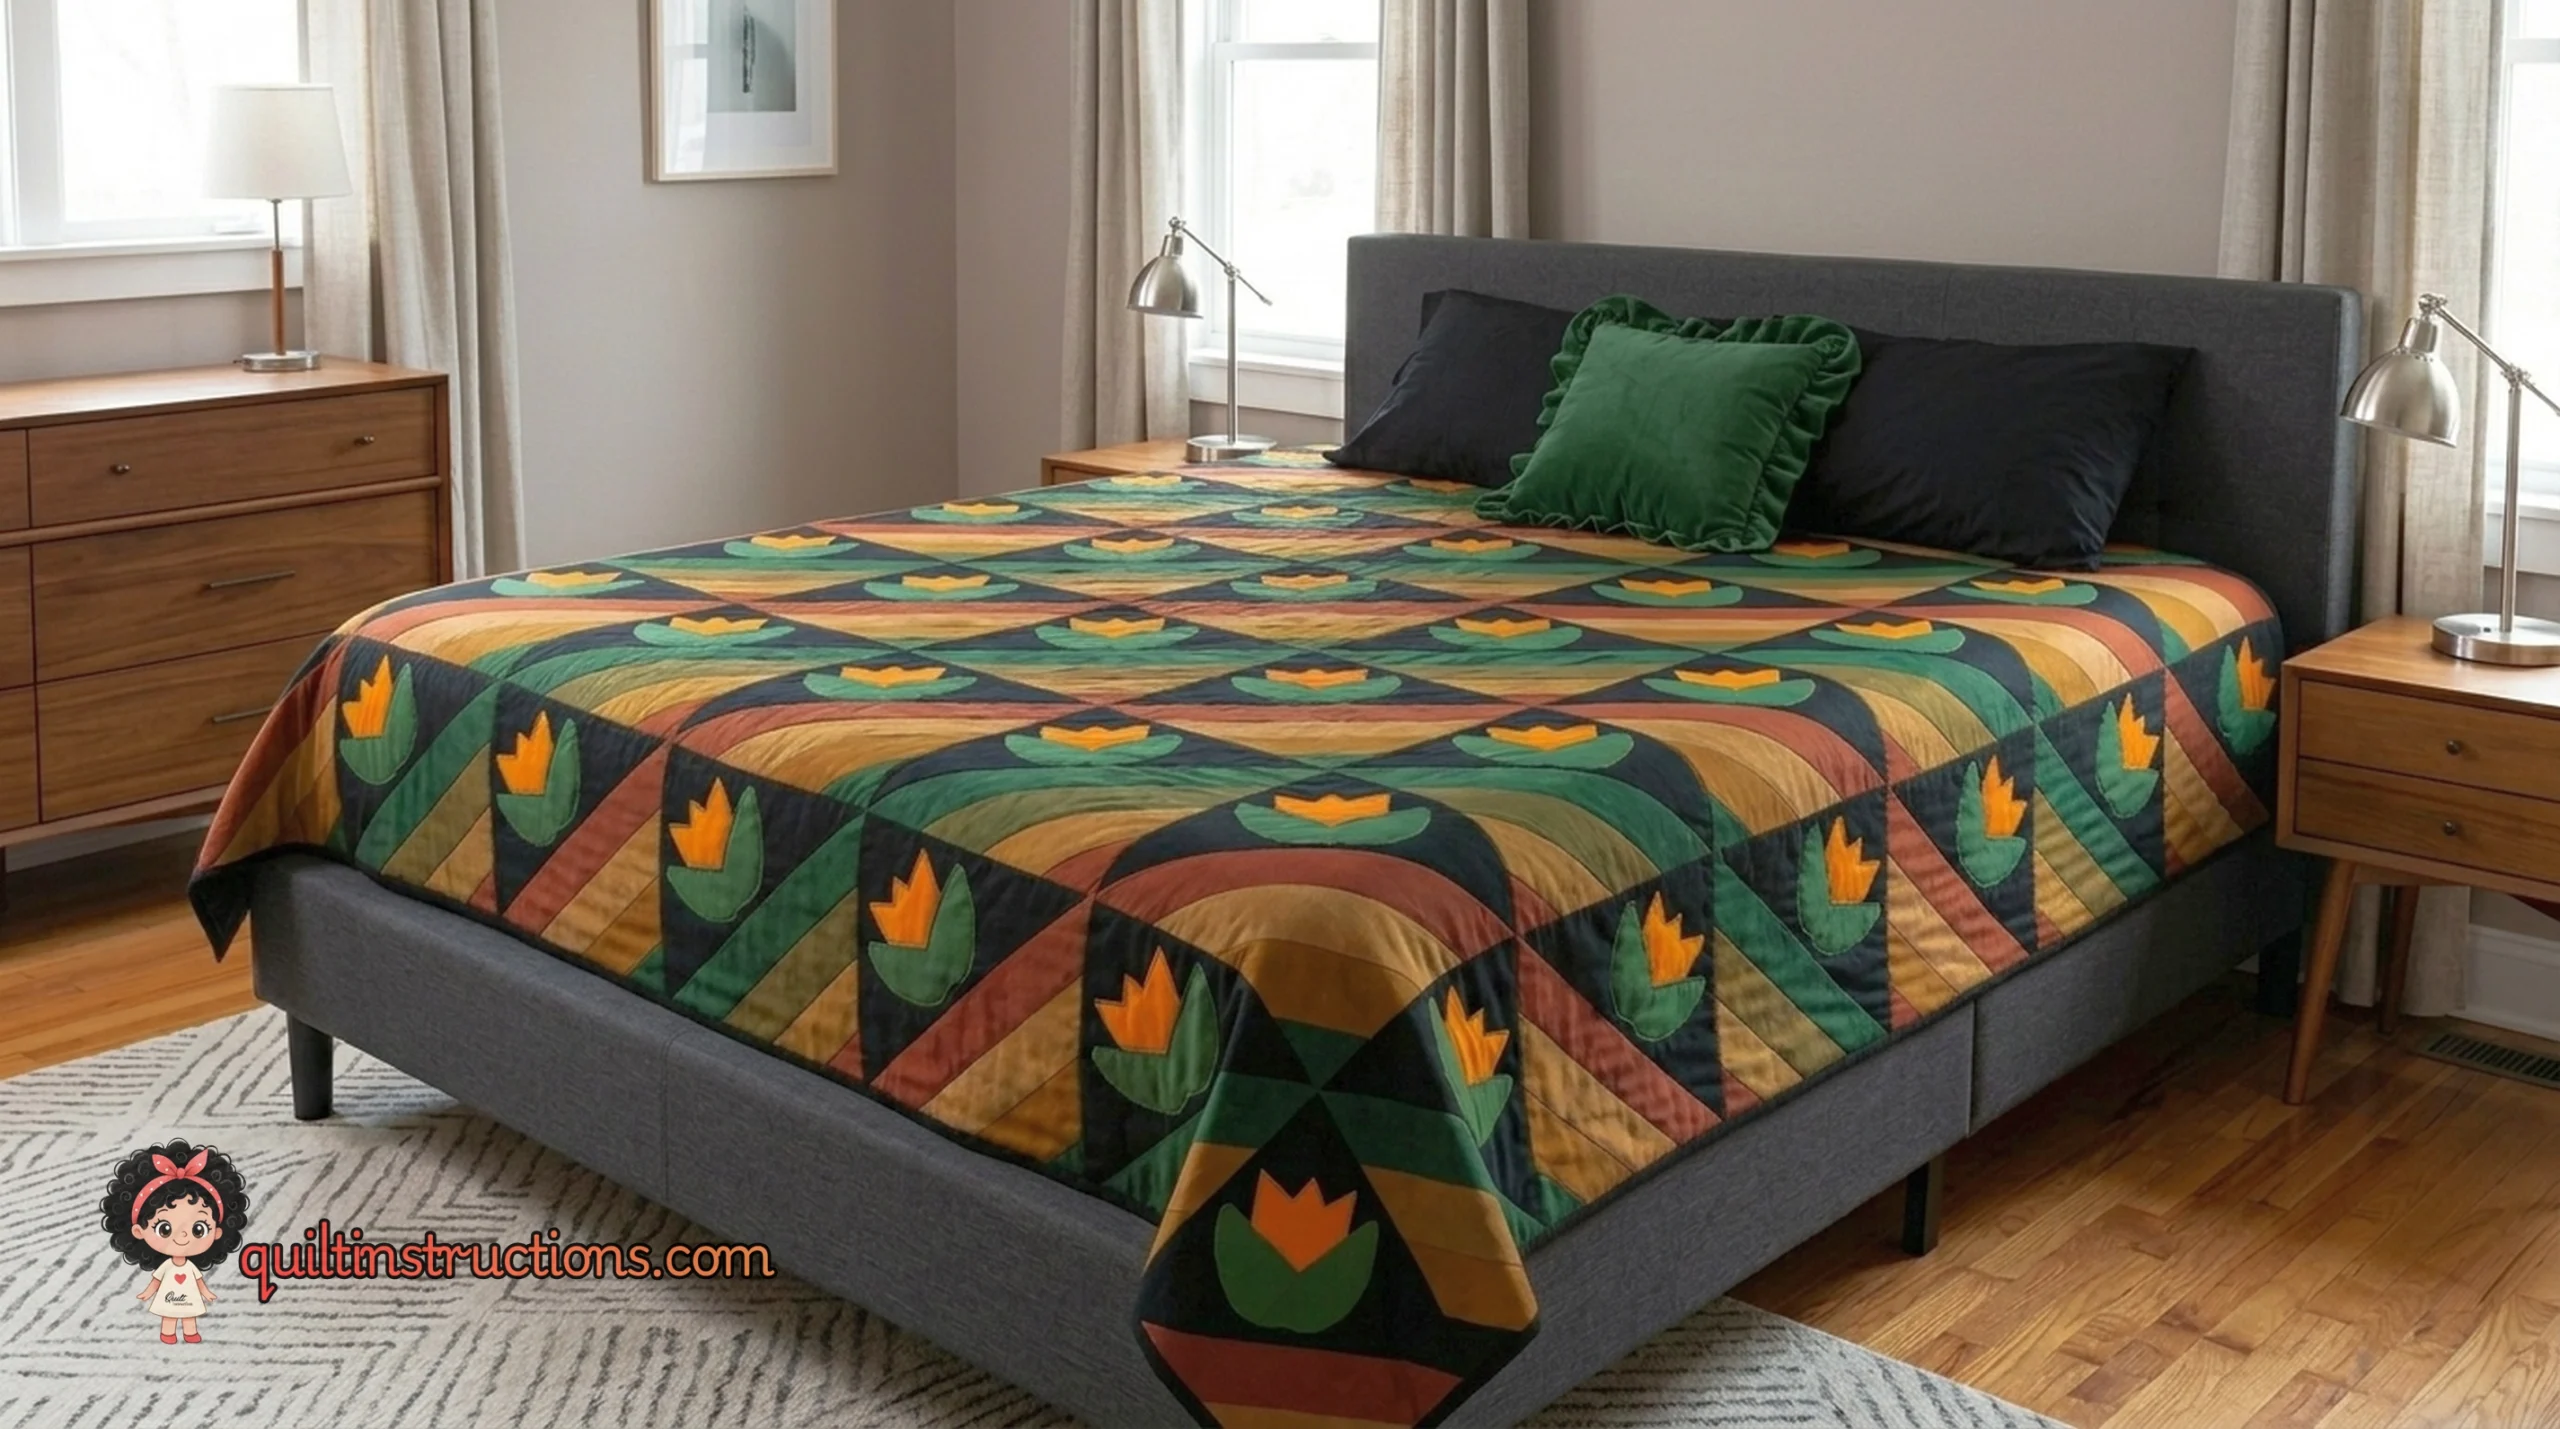
Amish Tulips Bed Quilt

Why This Traditional Pattern Stands Out

The Amish Tulips Bed Quilt is more than just a bed covering; it is a study in color theory and geometric balance. Unlike many contemporary floral patterns that rely on busy prints, this design uses the simplicity of tulip shapes to command attention. By utilizing the Amish quilting style, the pattern emphasizes the silhouette of the flowers, allowing the quilting stitches themselves to become a major secondary design element once the top is finished.

This pattern is particularly effective for quilters who want to practice their accuracy. Because the blocks rely on the contrast between the background and the petals, every seam counts. If you enjoy working on large-scale projects, you might also find inspiration in other free quilt patterns that focus on traditional block construction. The 84″ x 100″ dimensions ensure that the finished product has a beautiful drape over the sides of a standard bed, providing that sought-after “store-bought” fit with a handmade soul.

Where to Buy Fabrics: To achieve the authentic Amish look, we recommend high-quality solid cottons from these trusted retailers:

Materials and Fabric Selection

To recreate the look shown in the pattern, you will need a variety of solid fabrics. The background is typically a deep black, which serves as a canvas for the vibrant tulips. You will need fabrics for the tulip heads (reds, pinks, or purples) and green for the stems and leaves. Choosing a high-thread-count cotton will ensure that the dark background fabric doesn’t shadow through the lighter petal colors.
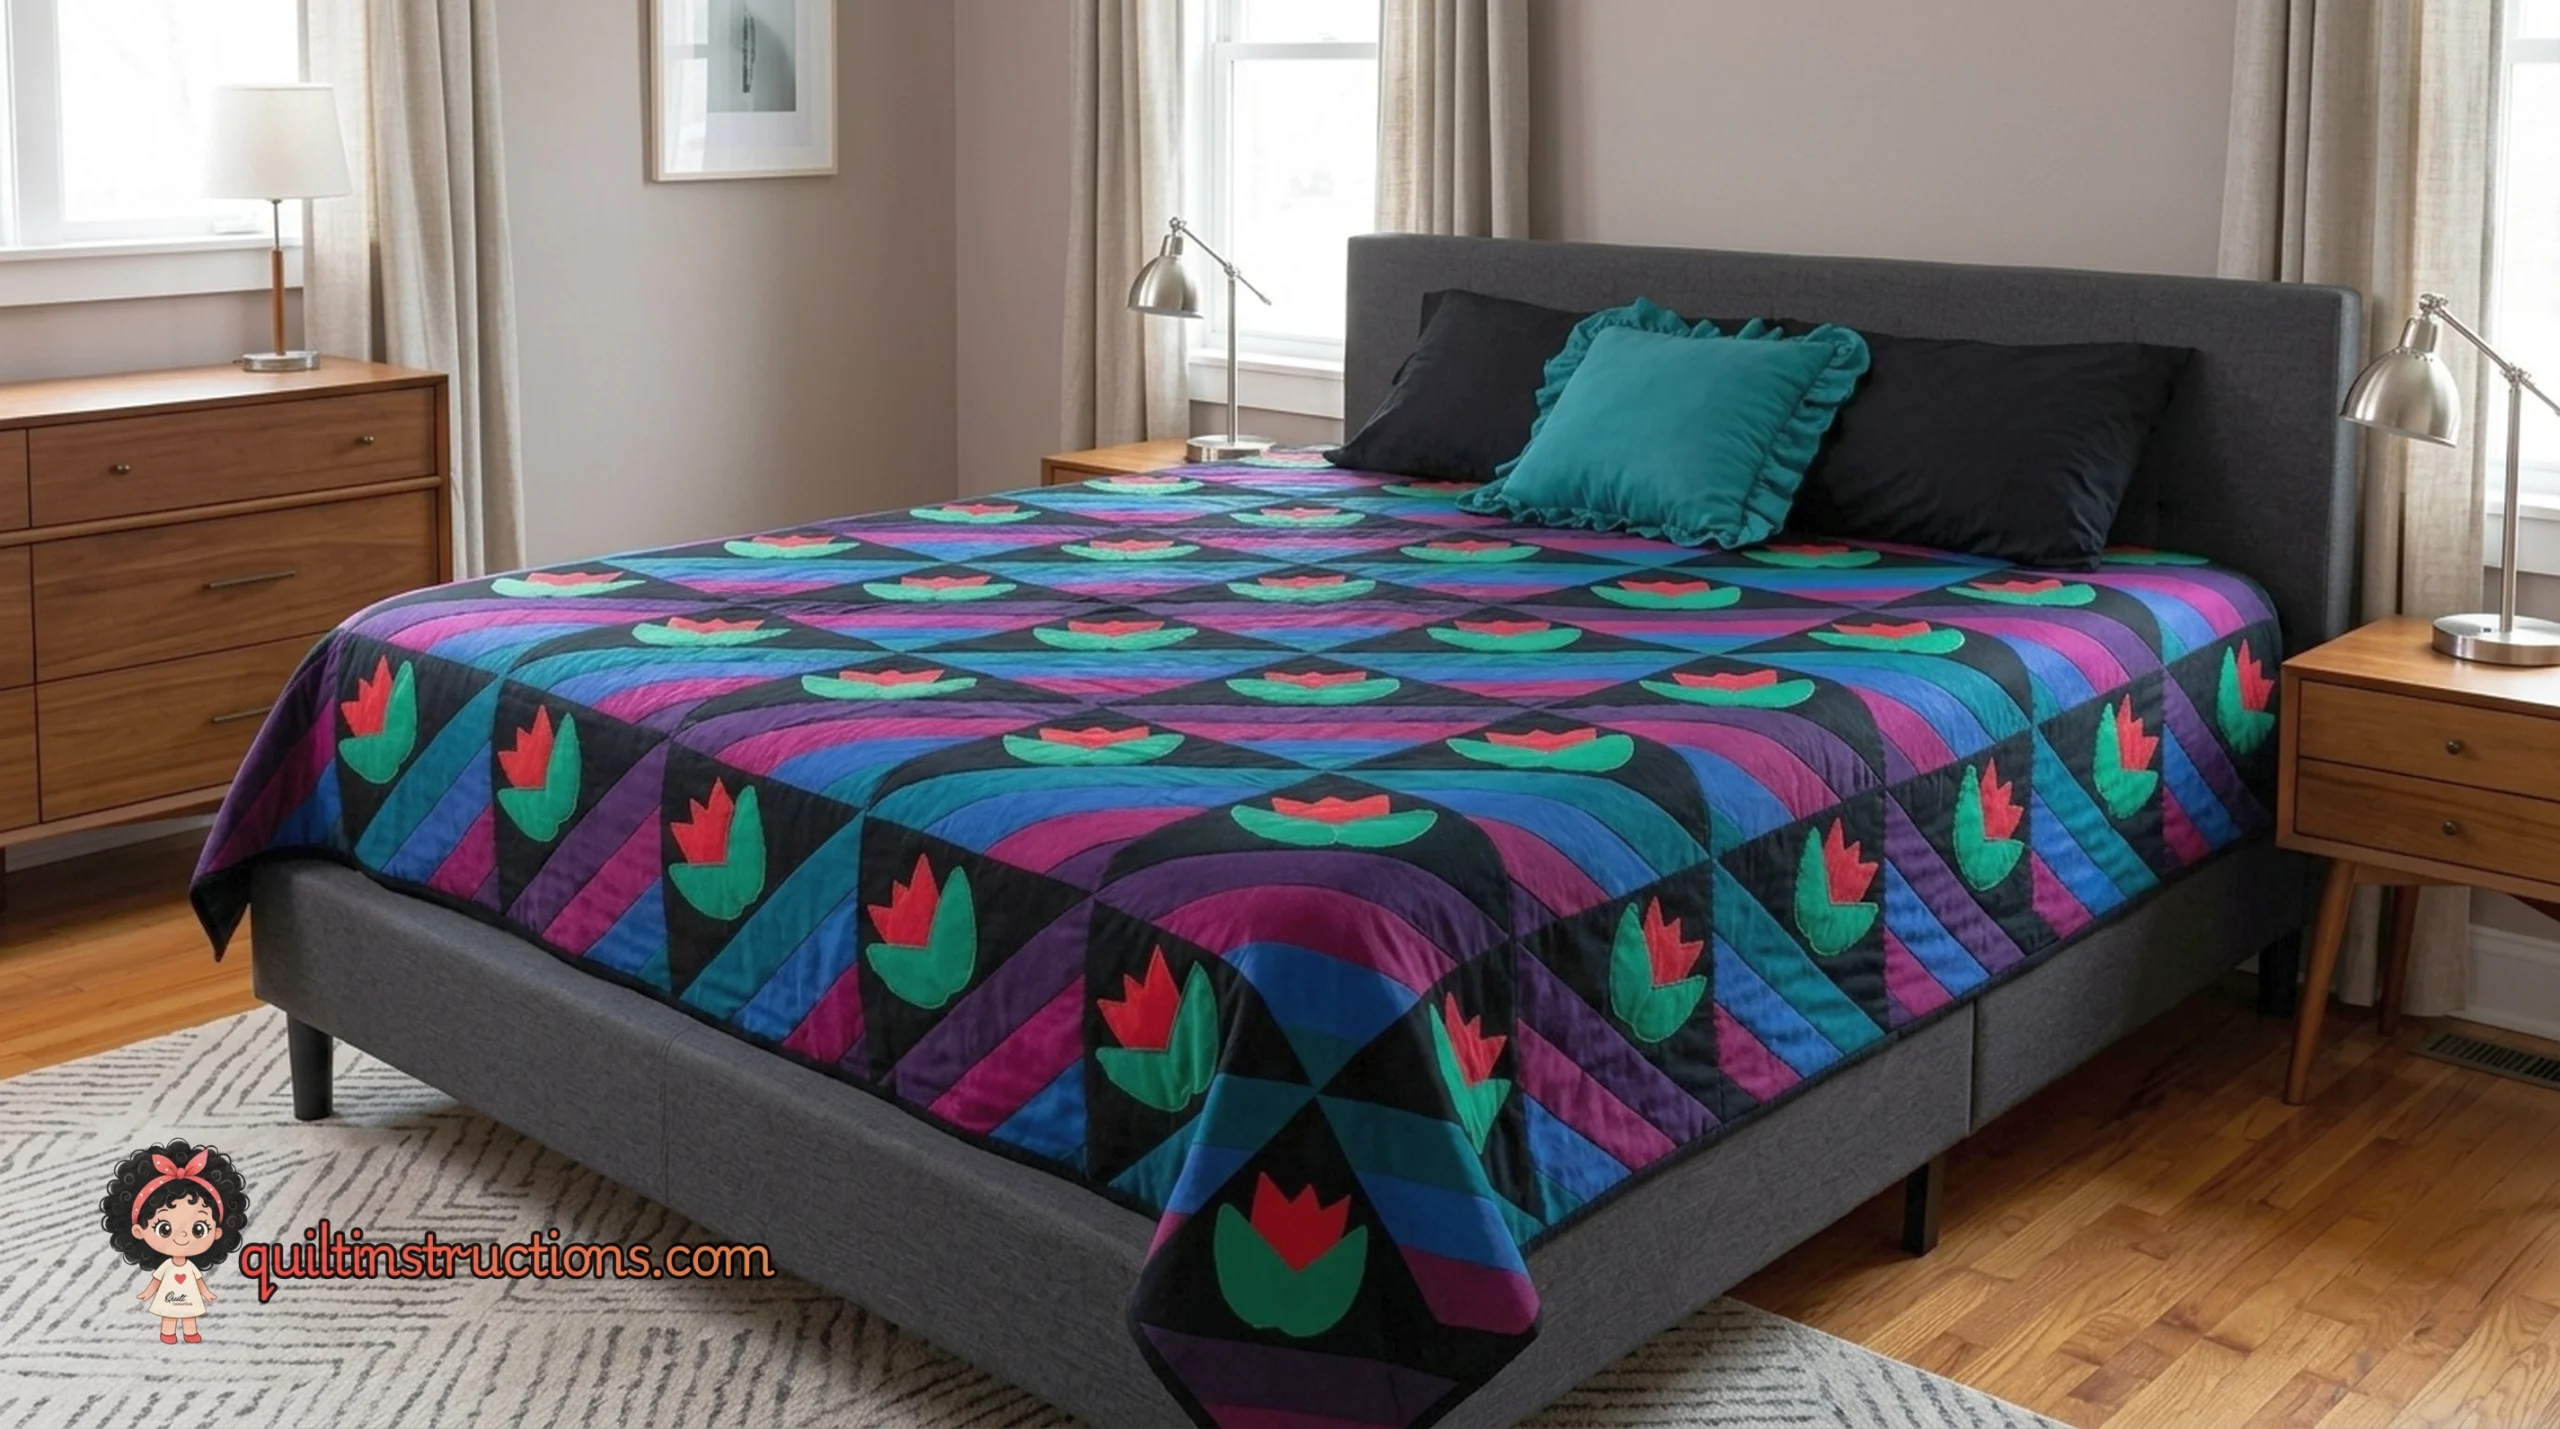
Amish Tulips Bed Quilt

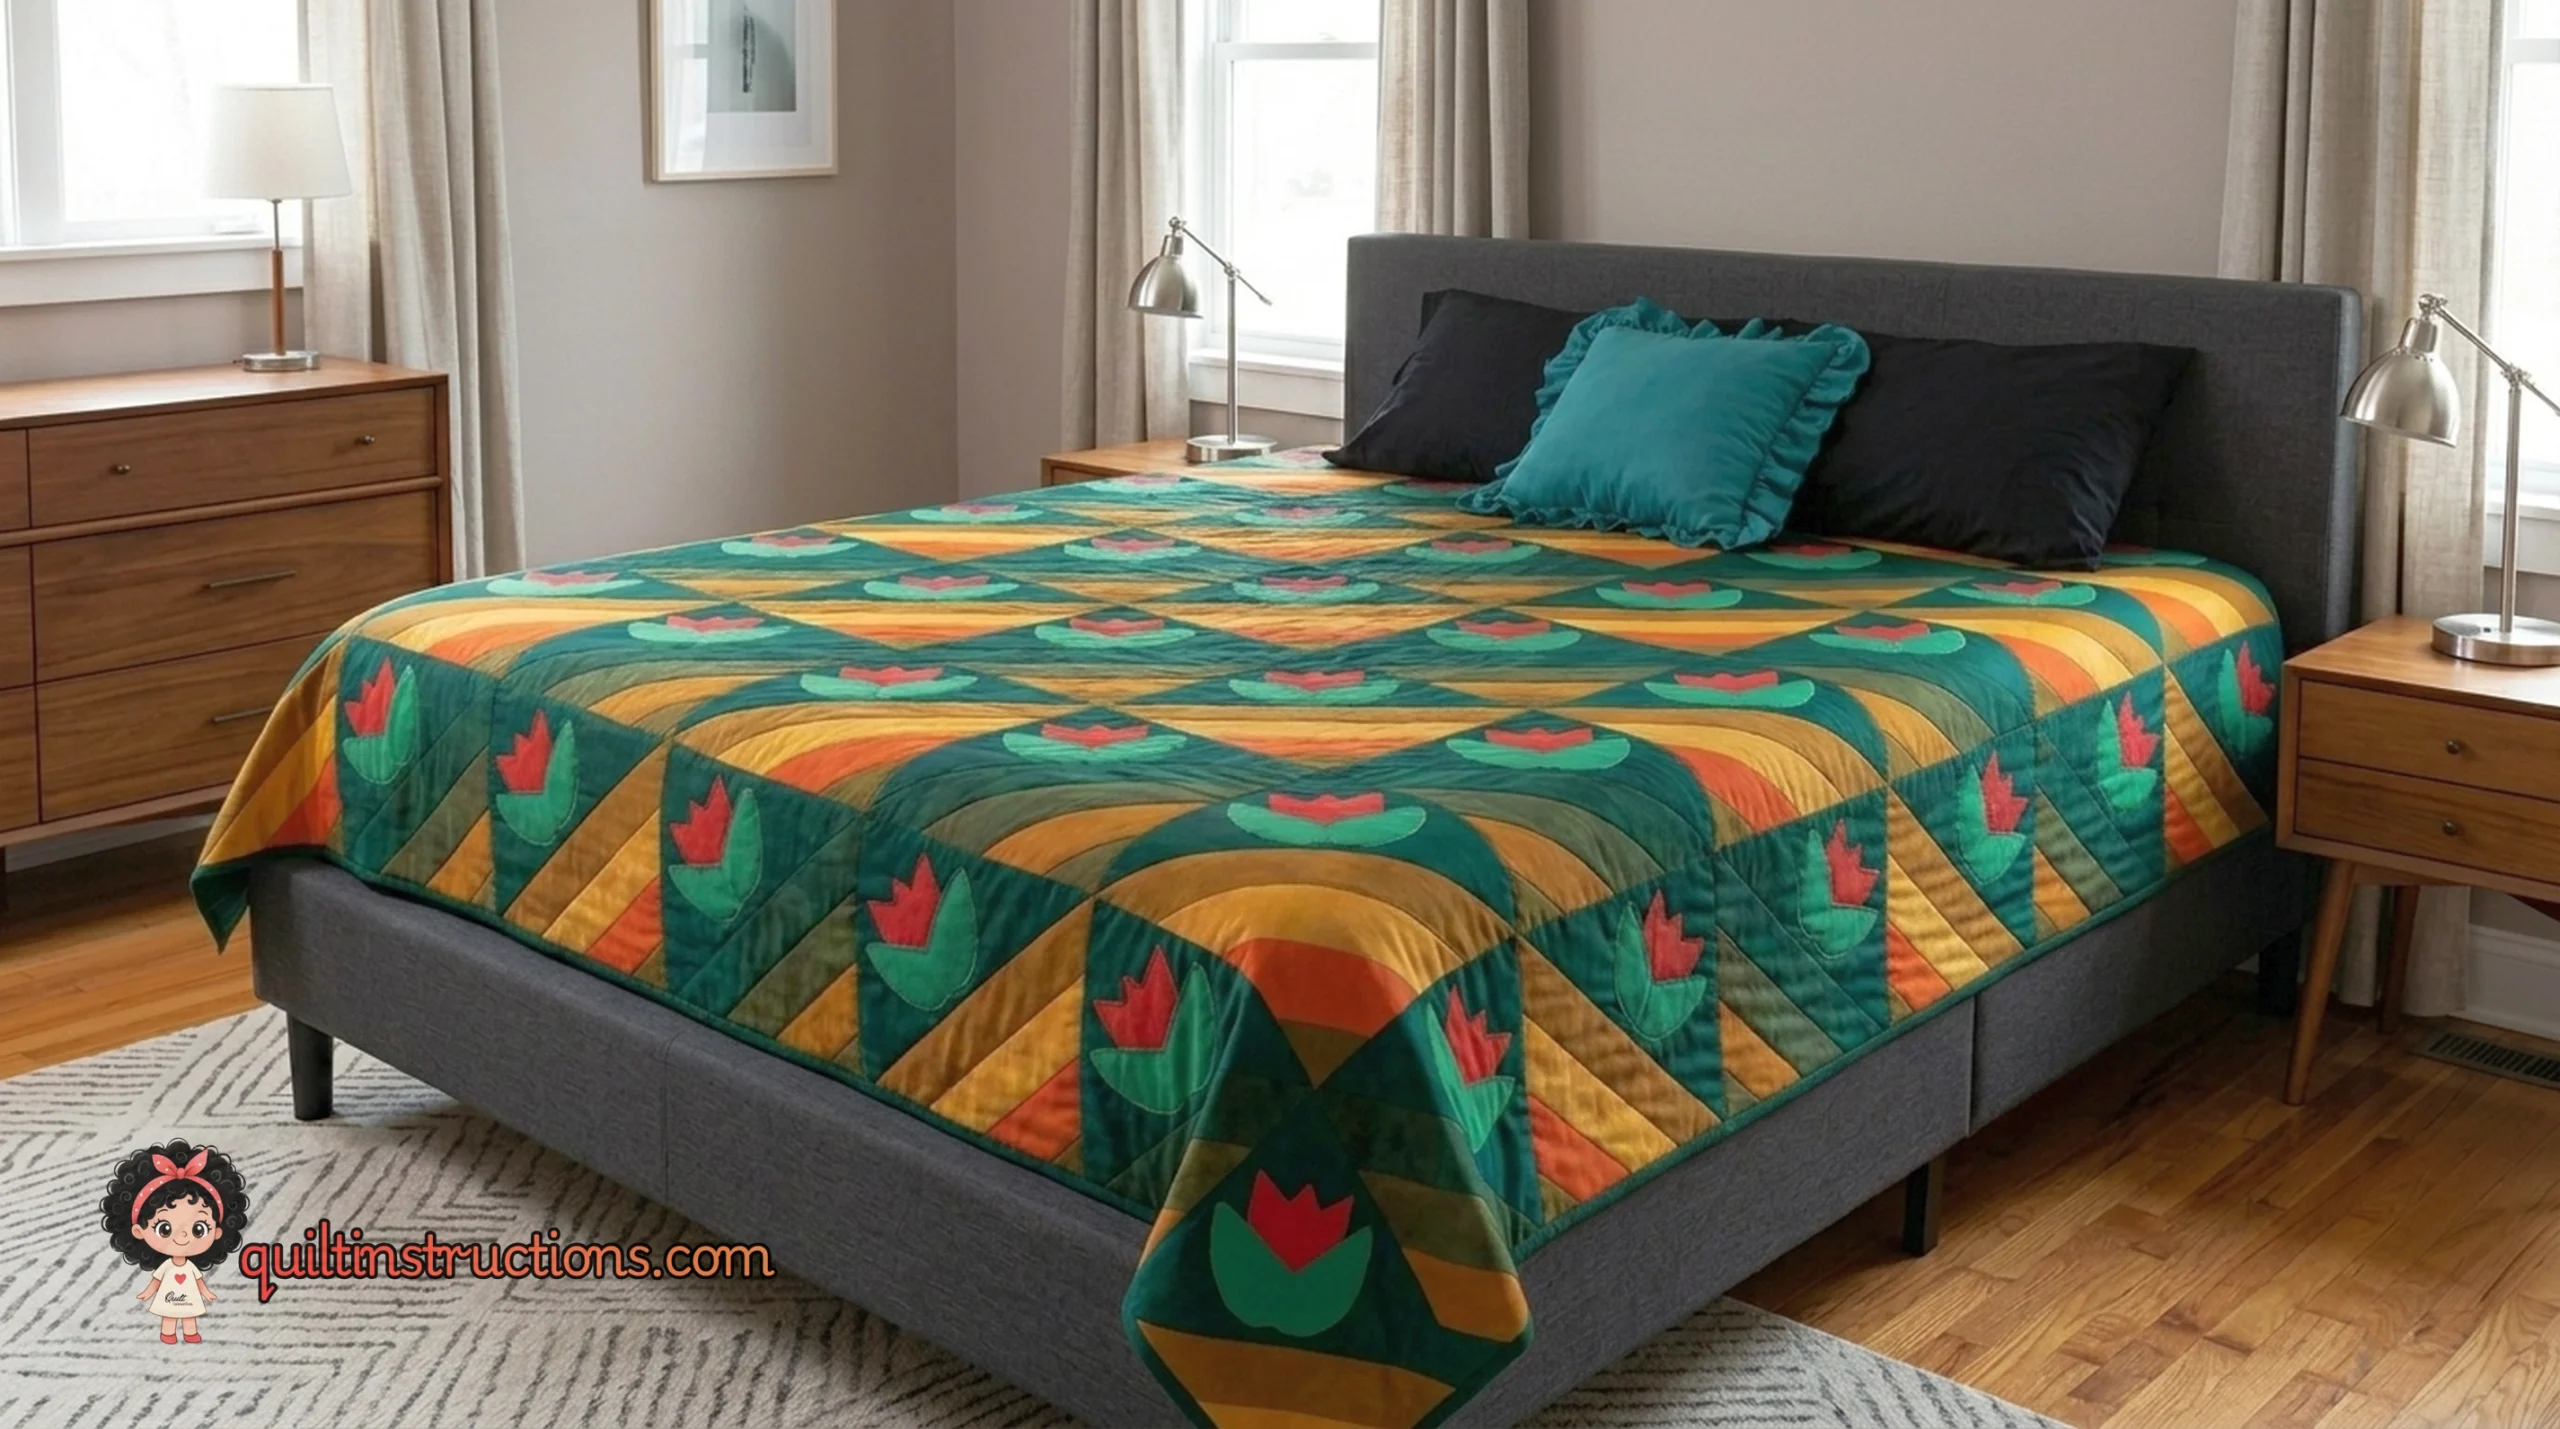
When preparing your materials, consider searching through traditional quilts resources to see how different color palettes can change the mood of the Amish Tulips. While the classic palette is stunning, a “modern Amish” version using charcoal grey and pastel solids can also be incredibly effective. Always remember to pre-wash your dark fabrics, as saturated solids like black and red are prone to bleeding.

Tips for Success:

  • Nesting Seams: Press your seams carefully to ensure your tulip points stay sharp.
  • Scant Quarter Inch: Use a consistent scant 1/4″ seam allowance to maintain block size over such a large quilt.
  • Lighting: When sewing with black fabric, ensure you have excellent overhead lighting to reduce eye strain.

Download the Pattern

The full instructions, including cutting lists and assembly diagrams for the Amish Tulips Bed Quilt, are available in the link below. This PDF guide is provided for free to help you bring this Ann Boyce classic to life. For more projects of this scale, explore our bed size quilt patterns collection.

Download do Padrão Grátis

Frequently Asked Questions

What is the finished size of the Amish Tulips Quilt?
The finished quilt measures 84 inches wide by 100 inches long.

Is this pattern suitable for beginners?
It is best suited for intermediate quilters due to the large scale and the precision required for the tulip blocks.

Can I use print fabrics instead of solids?
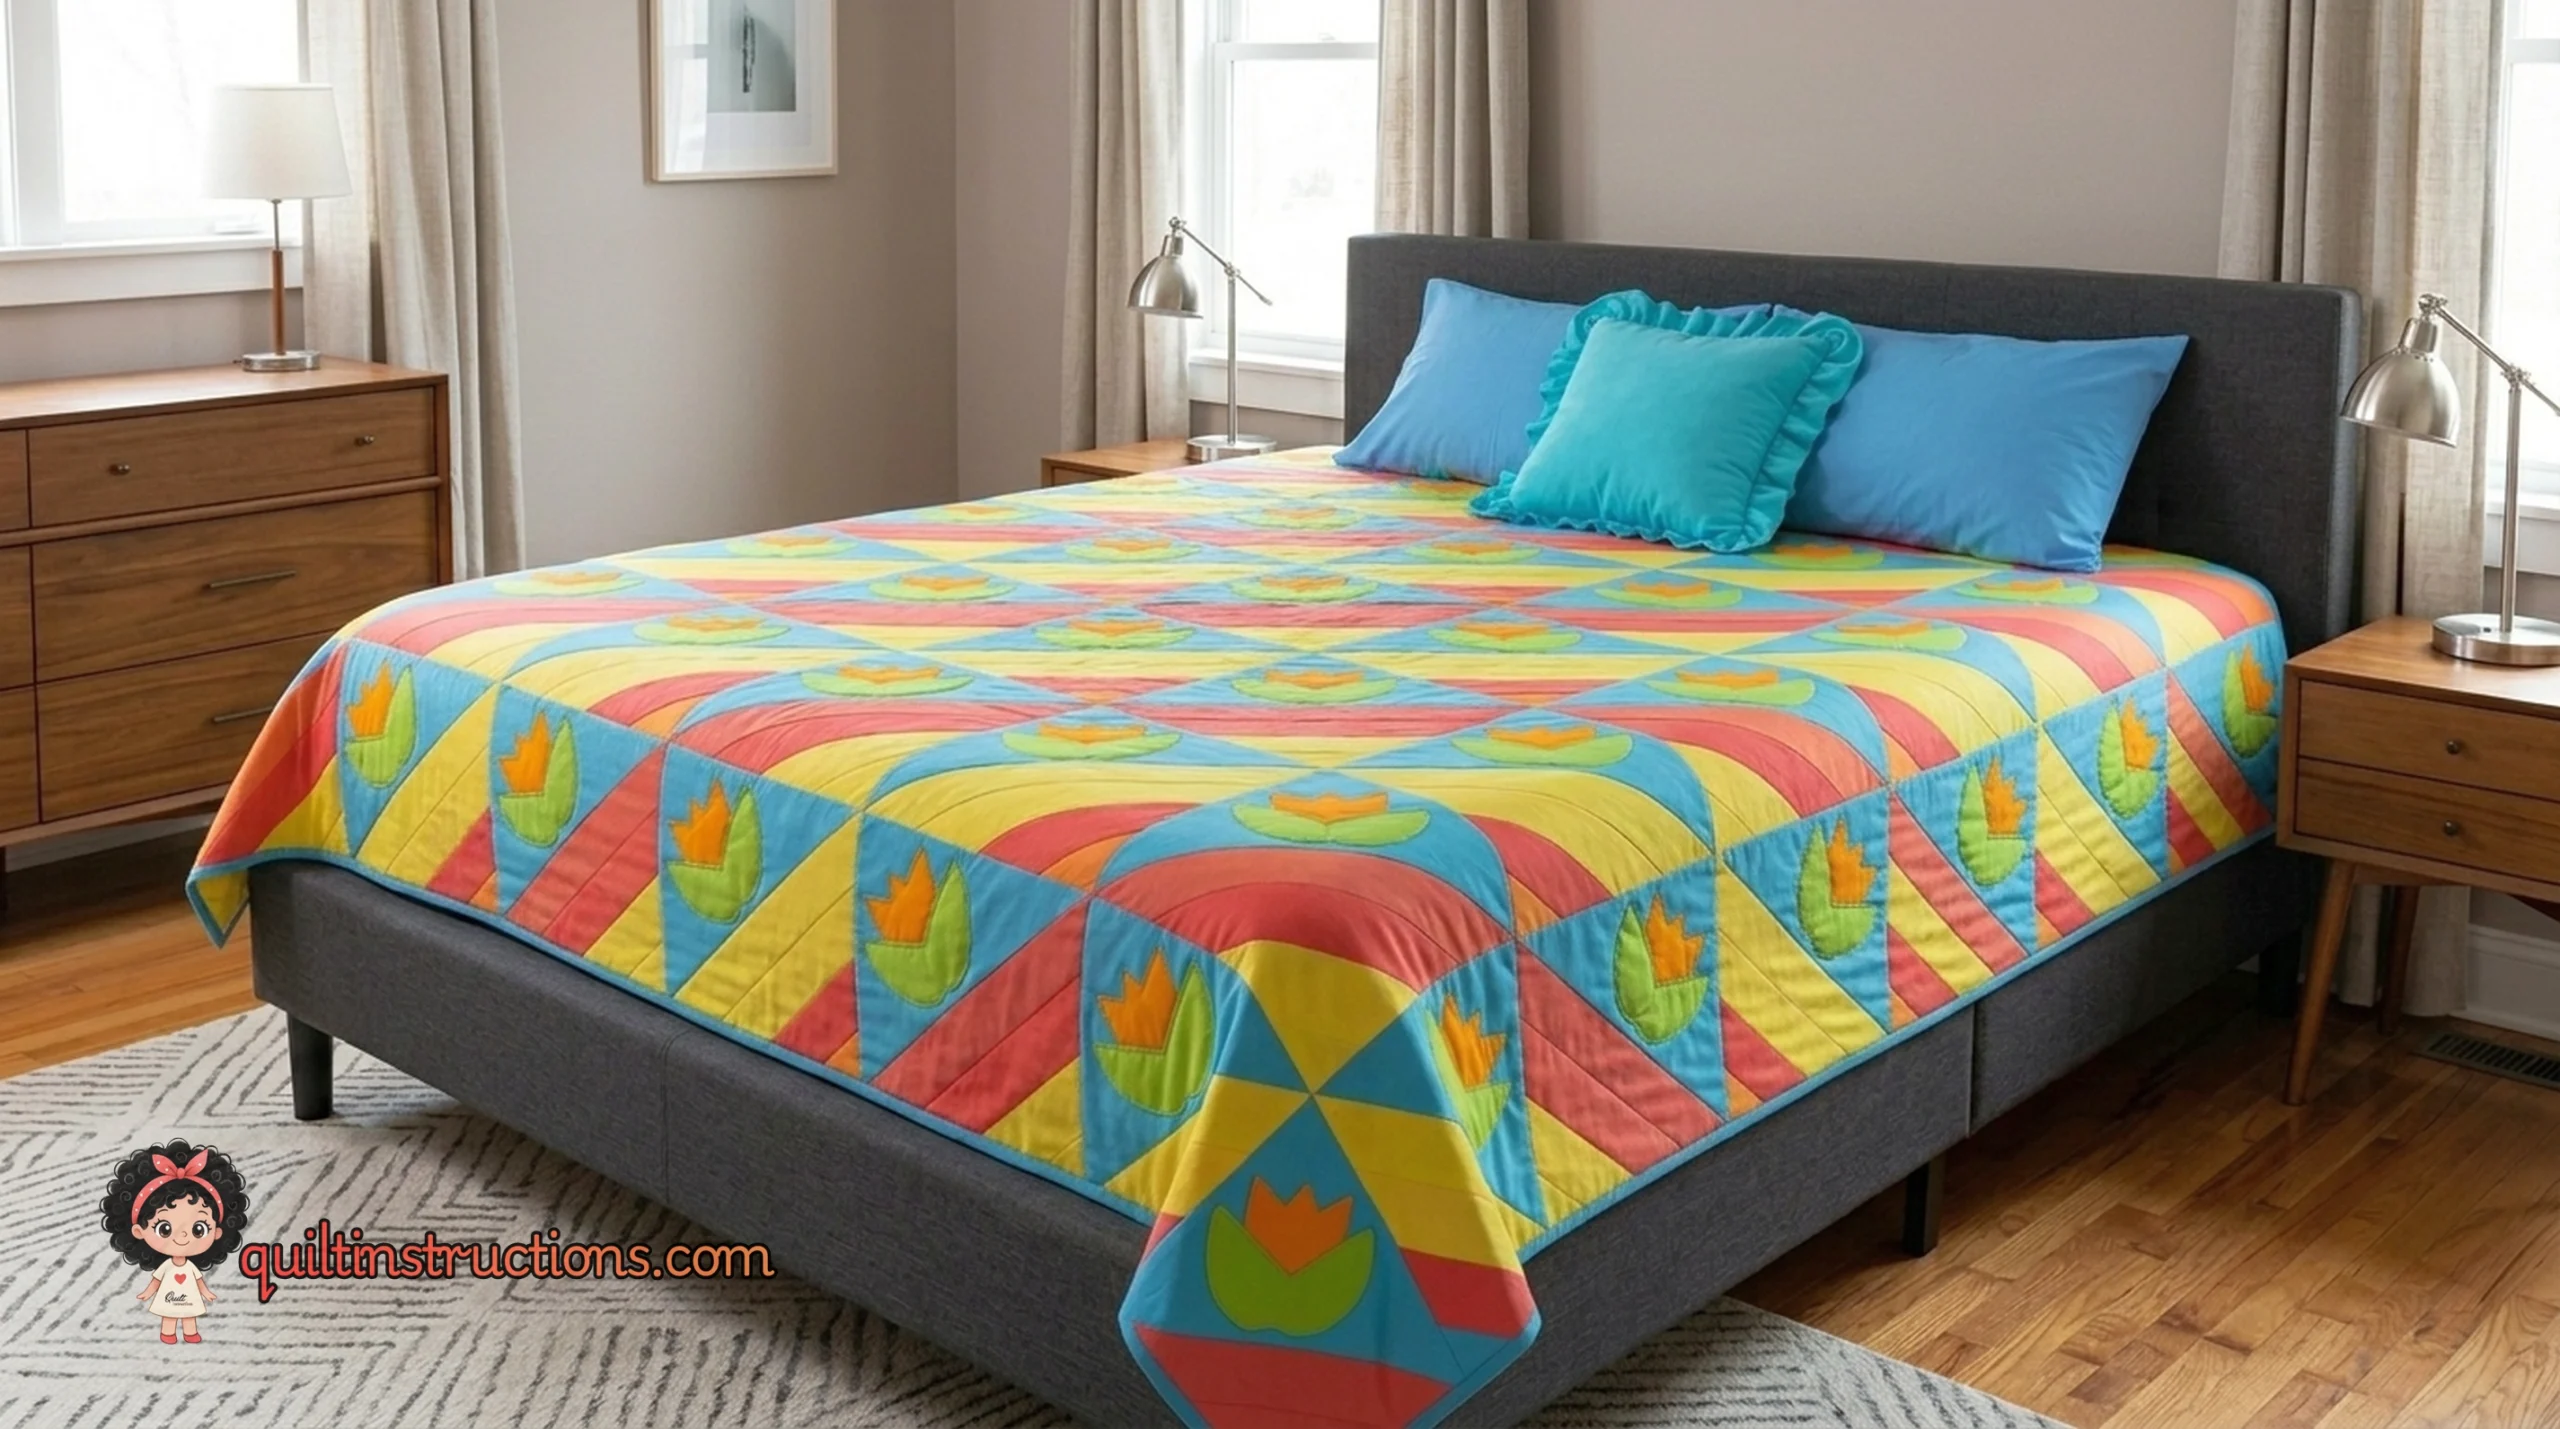
While the pattern is designed for solids to maintain the Amish aesthetic, you can certainly use small-scale prints or batiks for a more contemporary look.
About the Designer: Ann Boyce
Ann Boyce is a celebrated quilt designer known for her ability to translate complex traditional concepts into clear, accessible instructions. With a career spanning decades, her work often features bold colors and intricate geometry. You can find more of her work at e.patternscentral.com.

Join Our Quilting Community: Share your progress and see how others have customized their Amish Tulips quilt in our Facebook groups:

The Amish Tulips Bed Quilt offers a wonderful opportunity to create a centerpiece for your home that honors the history of American quilting. By focusing on high-quality fabrics and steady piecing, you will end up with a magnificent quilt that remains stylish for generations. Download your copy today and begin selecting your favorite jewel tones for those iconic tulip blocks.

Free Rainbow and Unicorn Cushions Patterns & Guide

0

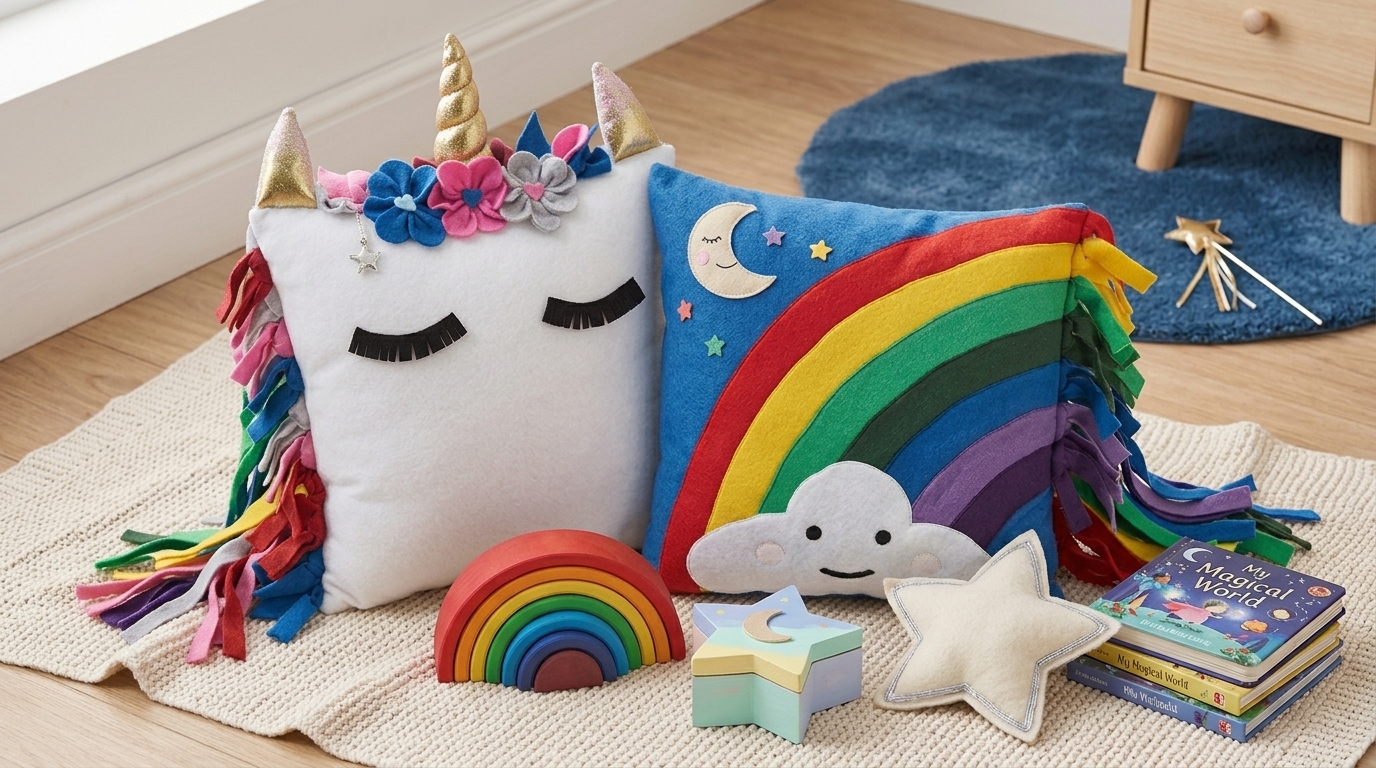
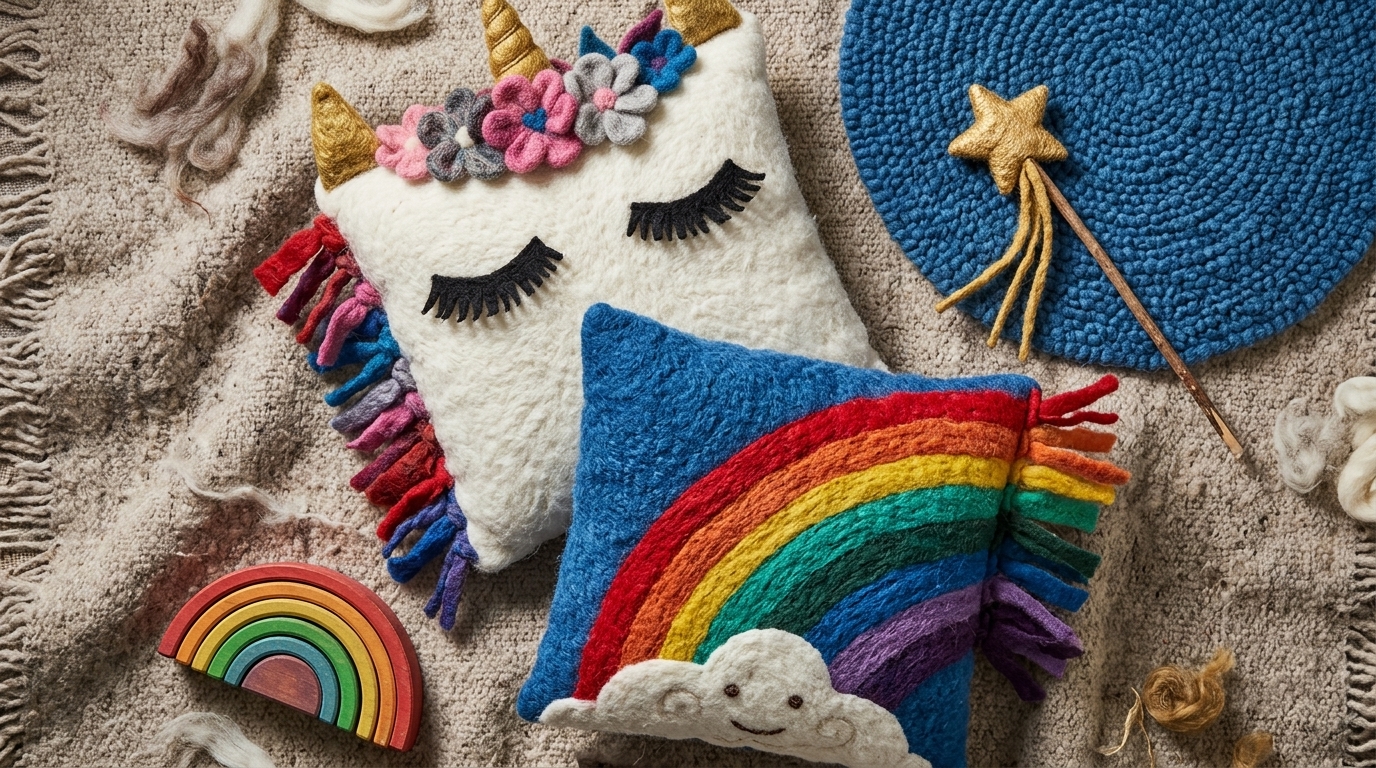
The Rainbow and Unicorn Cushions project by Spotlight Stores offers a whimsical and colorful way to decorate a child’s bedroom or nursery using accessible sewing and appliqué techniques. These free patterns provide a complete guide to creating two distinct decorative pillows: a vibrant, multi-layered rainbow and a charming unicorn with a 3D felt mane. By using high-quality felt and standard cushion inserts, you can achieve a professional finish that adds a handmade touch to any modern living space or play area.

This project is specifically designed for intermediate sewists who are comfortable with top-stitching and layering different fabric pieces. Rainbow and Unicorn Cushions The use of felt is a strategic choice for these designs because it does not fray, allowing for clean edges on the rainbow’s arches and the unicorn’s facial features without the need for complex hemming. Whether you are looking for a weekend craft or a thoughtful gift, these cushions provide a satisfying balance of creative design and practical construction.

Free Rainbow and Unicorn Cushion Patterns: A Step-by-Step Guide

Rainbow and Unicorn Cushions

Rainbow and Unicorn Cushions Designing for children’s spaces often requires a mix of durability and visual appeal. The Rainbow and Unicorn Cushions excel in both categories. Unlike standard printed pillows, the textured nature of the felt appliqué provides a tactile experience that children enjoy. The project uses a 45cm (approximately 18-inch) square cushion base, which is a standard size, making it easy to find inserts at most craft or home goods stores.

One of the most appealing aspects of this project is its versatility. While the original pattern suggests a bright, traditional spectrum for the rainbow, you can easily adapt the palette to match specific room decor. For a more modern look, consider using “muted earth tones” or “pastel gradients.” If you are new to this style of sewing, you might find it helpful to review some easy quilt patterns for beginners to get comfortable with fabric handling before tackling the curved appliqué of the rainbow.

Essential Materials and Tools

To ensure a successful result, gathering the correct materials is the first step. For the Rainbow cushion, you will need five different colors of felt for the arches and a neutral background fabric. The Unicorn cushion requires white felt for the head, assorted colors for the mane, and gold or yellow for the iconic horn. Standard sewing notions like sharp fabric scissors, a disappearing fabric marker, and a reliable sewing machine are essential.

Using a scant 1/4 inch seam allowance is common in quilting, but for these cushions, you will primarily be using top-stitching. This means your thread choice is important. You can either use a matching thread to make the stitches disappear or a contrasting thread to add an extra decorative element to the outlines. If you are interested in expanding your skills to larger projects, exploring free baby quilt patterns can provide great inspiration for coordinating bedding.

Where to Buy Quality Fabrics & Felt:To get the best results for your cushion project, we recommend sourcing your materials from these reliable retailers:

Tips for Perfect Appliqué

The key to a professional-looking rainbow is the precision of the curves. When cutting your felt arches, take your time to ensure smooth edges. Any jagged cuts will be magnified once sewn onto the cushion face. Pinning the arches thoroughly before sewing is critical to prevent the felt from shifting or stretching under the presser foot.

For the unicorn, the mane is constructed by layering strips of felt. This creates a wonderful 3D effect that makes the cushion stand out. When attaching the horn and ears, ensure they are securely back-stitched, as these are the parts most likely to be handled by children. If you enjoy this type of decorative sewing, you might also want to look into star quilt patterns which often utilize similar geometric layering techniques.

Pro Tips for Success:

  • Use a Walking Foot: If your sewing machine has one, a walking foot will help feed the layers of felt and background fabric evenly.
  • Stabilize Your Fabric: If your background fabric is lightweight, consider adding a thin layer of fusible stabilizer to the back to support the weight of the felt appliqué.
  • Thread Tension: Test your stitch on a scrap piece of felt first. Felt is thicker than standard cotton, and you may need to loosen your tension slightly.

Download the Pattern and Get Started Rainbow and Unicorn Cushions

Rainbow end Unicorn Cushions

Ready to start sewing? This project is available as a comprehensive PDF guide that includes all the necessary templates for the rainbow arches, unicorn head, horn, and ears. Having the physical templates ensures your proportions are correct and your cushions look exactly like the designer’s original vision.

Important Note: Always pre-wash your background fabric to prevent shrinkage after the project is finished. However, do not pre-wash the felt, as it can lose its shape and texture. Spot clean the finished cushions only.

Frequently Asked Questions

What type of felt is best for these cushions?
For decorative cushions, a wool-blend felt is often superior to 100% synthetic craft felt. It has a nicer drape, holds its shape better over time, and is less likely to pill with use.

Can I make these cushions larger?
Yes. You can scale the templates up at a local print shop or by using the “poster” setting on your home printer. Just remember to increase your background fabric and cushion insert size accordingly.

Is this project suitable for a beginner?
While the steps are straightforward, the unicorn has several small pieces, and the rainbow requires sewing clean curves. If you are a confident beginner who has completed a few basic projects, you will find this a manageable and rewarding challenge.

Join Our Quilting & Sewing Community:Share your finished cushions and get advice from thousands of other makers in our favorite Facebook groups:

About the Designer: Spotlight StoresSpotlight is a premier provider of fabric, craft, and home interior resources. They are well-known for offering high-quality project inspiration and free patterns that cater to makers of all skill levels. Their designs focus on contemporary trends and accessible techniques, helping crafters bring professional-looking decor into their homes.

Visit Website

Creating these cushions is a wonderful way to practice your appliqué skills while producing something truly special. The combination of the structured rainbow and the playful unicorn provides a balanced aesthetic that works in many different settings. Once you finish these, you might find yourself looking for more ways to use felt in your home decor or even branching out into complex quilt patterns that use similar layering logic. Enjoy the process of selecting your colors and watching these characters come to life under your needle.

Five Fat Quarter Fun – Embracing Creativity

8

The Five Fat Quarter Fun Quilt is an exciting project that opens up a world of creativity and color. Whether you’re a beginner just starting out or an experienced quilter looking for a fresh challenge, this quilt offers something for everyone. With just five fat quarters, you can create a stunning quilt that showcases your unique style and flair.

Five Fat Quarter Fun: A Quilting Adventure

Five Fat Quarter Fun - Embracing Creativity
Five Fat Quarter Fun – Embracing Creativity

Have you ever wondered how a simple selection of fabrics can transform into a beautiful quilt? Let’s dive into the vibrant world of quilting and explore the possibilities!

Choosing the right fabrics and colors is essential to bringing your Five Fat Quarter Fun Quilt to life. Here are some suggestions to spark your creativity:

  • Bold and Bright: Use vibrant colors like electric blue, hot pink, and sunny yellow to create a quilt that pops with energy and excitement. Imagine how these colors would brighten up any room!
  • Pastel Dream: Opt for soft pastels like mint green, baby blue, and lavender for a quilt that exudes calm and serenity. Can you picture how these soothing shades would look in a cozy bedroom?
  • Earthy Tones: Combine rich browns, deep greens, and warm oranges for a quilt that reflects the beauty of nature. How would these colors create a warm, inviting atmosphere in your home?

Where to Buy Quilting Fabrics

Ready to start your Five Fat Quarter Fun Quilt? Here are some great places to find the perfect fabrics:

  • Online: Fat Quarter Shop offers a wide selection of fabrics, pre-cuts, and quilt kits that cater to all styles and preferences.
  • In-Store: Joann Fabrics is a fantastic place to browse fabrics in person. You can touch and feel the materials, and their staff is always ready to help with expert advice.

A Quilting Anecdote: Sarah’s Colorful Journey

Five Fat Quarter Fun Preppy Quilt Pattern

Let me share a little story: Sarah, a passionate quilter, decided to tackle the Five Fat Quarter Fun Quilt for her latest project. Inspired by the vibrant colors of a summer festival, she chose fabrics in shades of coral, turquoise, and lime green. As she pieced together each block, she felt a sense of joy and creativity. The finished quilt became a centerpiece in her home, a testament to her love of quilting and color.

Sarah often shares her quilting journey on social media, inspiring others with her vibrant creations. Have you thought about sharing your own quilting projects online? It’s a wonderful way to connect with fellow quilters!

Sharing Your Quilting Journey

Quilting is a journey best shared. Once you’ve completed your Five Fat Quarter Fun Quilt, why not show it off? Share your creation on social media and use hashtags like #FiveFatQuarterFun, #QuiltingLove, and #HandmadeWithLove. Tag us too – we’d love to see your masterpiece!

Explore More Quilting Inspiration:

Pattern by Amber & Amanda

The Five Fat Quarter Fun Quilt pattern, designed by Amber & Amanda (Gigi’s Thimble & Jedi Craft Girl), is waiting for you! Download the pattern from Jedi Craft Girl and let your creativity shine.

Join our Facebook group, the Beginner Quilter Group, here to share your creations, get inspired, and connect with fellow quilters! It’s a fantastic place to learn, share tips, and make new friends! We can’t wait to see you there!

A Thought to Ponder

As you embark on your quilting journey, remember that each stitch is a step in a story you’re telling. Whether it’s a tale of family heritage, personal expression, or simply the joy of creation, your quilt is a canvas of endless possibilities. Embrace the process, and let your creativity flow. Happy quilting! Original Source Download

Indigo Easy Quilt: Free Modern Pattern by Lynne Goldsworthy

3

The Indigo Easy Quilt by Lynne Goldsworthy is a sophisticated yet accessible project that celebrates the timeless beauty of blue and white monochromatic designs. This free PDF pattern is specifically crafted to showcase a variety of prints through a clean, geometric layout that is both calming and visually striking. By using a repeating sequence of simple shapes, the pattern allows the fabric’s texture and color depth to take center stage without the need for complex piecing techniques.

Measuring approximately 66 inches square (1.7 meters), this quilt is an ideal size for a generous throw or a modern accent for a twin-sized bed. It is particularly well-suited for quilters who want to achieve a high-end look while maintaining a stress-free sewing experience. Whether you are a beginner looking to practice straight-line sewing or an experienced maker in need of a quick, satisfying project, the Indigo quilt provides a versatile foundation for your creativity.

Indigo Easy Quilt: A Modern Free Pattern by Lynne Goldsworthy

Indigo Easy Quilt
Indigo Easy Quilt

Why This Pattern Stands Out

The brilliance of this design lies in its efficiency. While many modern quilt patterns rely on intricate angles or curved piecing to create movement, the Indigo quilt uses varying lengths of rectangles and small squares to build a dynamic grid. This approach significantly reduces the time spent on cutting and matching difficult seams, making it a “weekend-friendly” project.

Furthermore, this pattern is an excellent vehicle for using fabric collections that feature tonal variations. If you enjoy working with geometric shapes, you might also like the Leading Edge Quilt Pattern, which offers a similar modern aesthetic. The Indigo quilt’s structure is forgiving, allowing even minor imperfections to blend into the overall rhythmic design.

Important Note: Before you begin cutting, ensure you have read the pattern in full. The designer recommends using a scant 1/4 inch seam allowance to ensure all blocks align perfectly within the final grid layout.

Fabric Requirements and Construction

To achieve the look featured in the original instructions, you will need a selection of indigo or dark blue prints along with a contrasting background fabric. The pattern is designed to work well with Fat Eighths or Fat Quarters, making it a great choice for using a curated bundle from your favorite designer.

The construction is based on three primary sizes: 9” x 5 ½” rectangles, 3” x 5 ½” rectangles, and 3” squares. These are combined with approximately 2 meters (2 yards) of background fabric. For those who are just starting out, exploring our guide on beginner-friendly projects can provide additional confidence before tackling larger layouts.

Where to Buy Fabrics: Ready to source your indigo prints? Check out these reliable retailers:

Tips for Success

Pressing Matters: To ensure the quilt top stays flat, press your seams open or toward the darker fabric. This reduces bulk when joining the rows.

Batch Cutting: Since this quilt uses a limited number of shapes, cut all your pieces at once. Labeling your stacks of rectangles and squares will help you stay organized during the assembly phase.

Starching: Consider lightly starching your fabric before cutting. This stabilizes the weave and prevents stretching, which is crucial for maintaining the straight lines of this geometric design.

You can find many other free quilt patterns in our digital library to keep your sewing room inspired. The Indigo quilt is particularly effective when quilted with a simple cross-hatch or straight-line design to complement its structural lines.

Indigo Easy Quilt
Indigo Easy Quilt

Frequently Asked Questions

What is the skill level for the Indigo Quilt?

This pattern is classified as beginner-friendly. It focuses on basic patchwork skills, making it accessible for those who are new to the craft while remaining enjoyable for advanced quilters.

Can I use a different color palette?

Absolutely. While the pattern is named “Indigo,” it works beautifully with any monochromatic or high-contrast color scheme. Try using varied shades of grey, forest green, or even a sunset-inspired palette.

What are the finished dimensions?

The quilt finishes at approximately 66” square (1.7m x 1.7m). This makes it a versatile size for a lap quilt or a decorative accent.

Join the Community: Want to see how others have finished their Indigo quilts? Join these Facebook groups to share your progress and get inspired!

About the Designer: Lynne Goldsworthy is a prominent British quilt designer, author, and co-founder of The Thread House. Known for her modern approach to traditional blocks, Lynne’s work is frequently featured in leading quilting magazines. She blogs at lilysquilts.blogspot.com, where she shares her passion for contemporary textiles and detailed tutorials.

Visit Designer Website

The Indigo Easy Quilt is a testament to the idea that simplicity often leads to the most elegant results. By focusing on color value and clean lines, Lynne Goldsworthy has created a pattern that is as enjoyable to make as it is to display. Download your copy today and begin your journey into this beautiful monochromatic masterpiece.

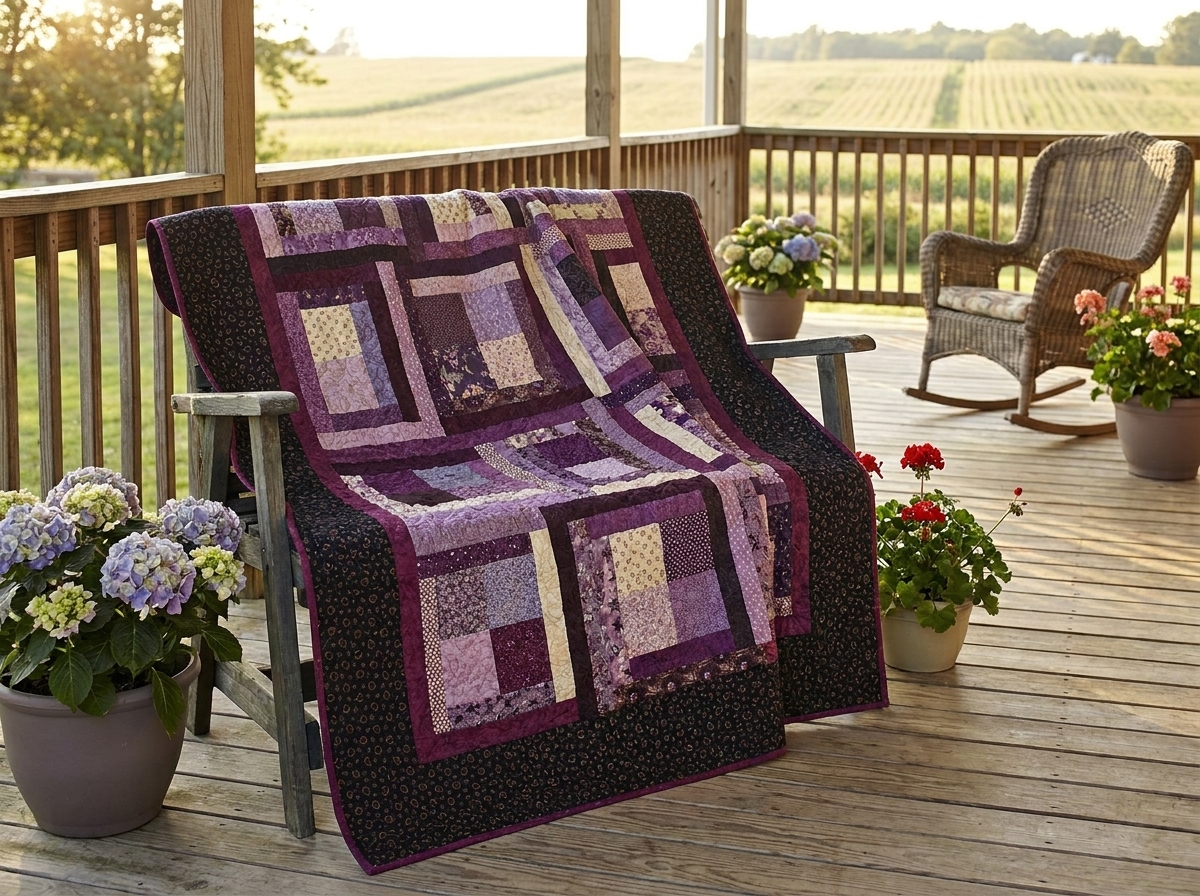
Logging On Quilt Pattern: Free PDF by Lynette Jensen

13

The Logging On quilt pattern by Lynette Jensen is a sophisticated yet accessible project that reimagines the traditional log cabin design. Measuring approximately 61.5 by 73.5 inches, this throw-sized quilt is specifically designed to highlight cozy fabrics and rich, warm tones. It serves as an excellent choice for quilters looking to master block construction while creating a functional piece of home decor.

This free PDF pattern uses a structured layout of 12-inch blocks to create a rhythmic, interlocking visual effect across the quilt top. Whether you choose to work with soft flannels or traditional quilting cottons, the “Logging On” design provides a sturdy foundation for both seasonal themes and everyday comfort. It is particularly well-suited for those who appreciate the timeless aesthetic of Thimbleberries designs.

Logging On Quilt: A Classic PDF Pattern by Lynette Jensen

Logging On Quilt Pattern

The brilliance of the Logging On pattern lies in its versatility. While many log cabin quilt patterns focus on high-contrast “light and dark” sides, this version by Lynette Jensen encourages a more blended, autumnal palette. This approach creates a “log” effect that feels more like a rustic retreat than a stark geometric puzzle.

If you are a fan of structured blocks but want something with a bit more movement, you might also enjoy exploring the Wonky Logs quilt pattern. However, for those who prefer the precision of traditional piecing, Logging On remains a top-tier choice. The instructions guide you through cutting and assembly to ensure every corner nests perfectly.

For quilters looking to level up their skills, this project bridges the gap between basic patchwork and more complex designs like the Stardust quilting pattern. The repetitive nature of the blocks allows you to settle into a productive sewing rhythm, making it a meditative project for long weekends or winter evenings.

Tips for Success:

1. Consistent Seam Allowance: Use a precise 1/4-inch seam throughout to ensure your 12-inch blocks finish at the correct size.

2. Pressing Matters: Press seams toward the darker fabrics or the “logs” you just added to prevent bulk at the intersections.

3. Fabric Choice: If using flannel, consider using a slightly larger stitch length to accommodate the thicker loft of the material.

One of the best ways to tackle this project is by utilizing your existing fabric stash. Much like other free scrap quilt patterns, Logging On can be adapted into a “scrappy” version by using various fat quarters in a cohesive color family. This gives the quilt a storied, lived-in look that is synonymous with Jensen’s signature style.

Where to Buy Fabrics:

To find the perfect flannel or cotton collections for this project, visit these trusted retailers:

Pattern Details and Download

The pattern provides comprehensive cutting lists for the blocks, sashing, and borders. Because this is a free PDF download, you can print the instructions and keep them at your sewing station for quick reference. The assembly is straightforward, making it an excellent weekend project for intermediate quilters or ambitious beginners.

Frequently Asked Questions

What is the finished size of the Logging On quilt?
The finished quilt measures approximately 61.5″ x 73.5″, which is a generous size for a sofa throw or a twin-bed topper.

Is this pattern suitable for beginners?
Yes, if you have a basic understanding of rotary cutting and maintaining a consistent seam allowance. The blocks are large (12 inches), which makes assembly faster than miniature patchwork.

Can I use fat quarters for this pattern?
Absolutely. While the pattern provides yardage requirements, you can easily substitute a variety of fat quarters to achieve a more diverse, scrappy look.

Logging On Quilt Pattern
About the Designer: Lynette Jensen

Lynette Jensen is the creative force behind Thimbleberries, a brand that defined the “country” quilting aesthetic for decades. Known for her use of rich flannels, nature-inspired palettes, and traditional motifs, Lynette’s patterns are cherished for their warmth and timeless appeal. Her designs often focus on creating a cozy home atmosphere through the art of quilting.

Designer Bio

Join Our Quilting Community:

Connect with other quilters, share your finished Logging On quilt, and find daily inspiration in our Facebook groups:

The Logging On quilt is more than just a pattern; it is an invitation to create a lasting heirloom. By combining the structured tradition of the log cabin block with the soft textures of modern flannel, you can craft a piece that is as beautiful to look at as it is comfortable to use. Happy quilting!

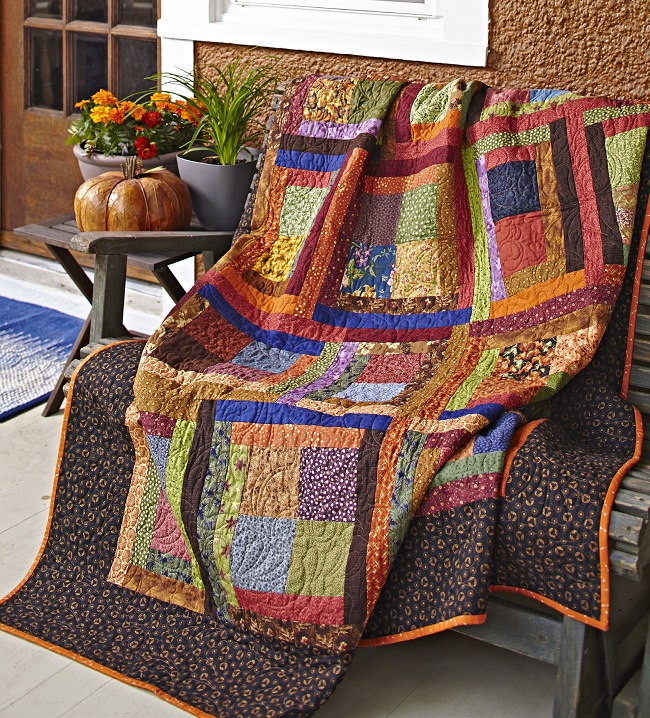
Amber Fields Quilt Pattern: Classic Autumnal Throw

1

The Amber Fields quilt pattern, designed by Kathie Holland, is a sophisticated yet cozy 62-1/2″ square throw that perfectly captures the warmth of a harvest season. This free PDF pattern utilizes traditional piecing to create intricate 12-inch blocks that look stunning in a palette of golds, tans, and deep browns. Whether you are looking for a new centerpiece for your living room or a thoughtful gift, this design offers a timeless aesthetic that fits both rustic and modern interiors.

By focusing on a combination of star and square motifs, the project allows quilters to practice precision without the need for complex templates or paper piecing. The construction relies on repeated block units, making it an excellent choice for those who enjoy the rhythm of chain piecing. If you have been searching for a project that balances visual depth with a manageable assembly process, this pattern is a reliable resource for your next quilting endeavor.

Free Amber Fields Quilt Pattern: A Classic Autumnal Throw by Kathie Holland

Amber Fields Quilt Pattern

Why This Pattern Stands Out

The Amber Fields quilt is celebrated for its clever use of color value and geometric contrast. The design features a “Double Four-Patch” variation that creates a secondary pattern across the quilt top when the blocks are joined. This leads to a dynamic visual effect where the eye moves seamlessly between the larger motifs and the delicate corner details.

For those who enjoy the look of star quilt patterns, Amber Fields offers a similar geometric appeal but with a slightly more structured, grid-based layout. It provides a wonderful opportunity to play with tonal prints, allowing subtle variations in cream and gold to give the quilt a “shimmering” field effect.

Materials and Fabric Requirements

To achieve the look shown in the pattern, you will need a variety of prints that range from light cream to dark brown. Using high-quality cotton is essential for maintaining the crispness of the 1/4-inch seams required for the 12-inch blocks.

Fabric Checklist:

  • Cream Print: 1-1/8 yards (background and blocks)
  • Gold Print: 1-1/2 yards (blocks and border)
  • Assorted Tan and Brown Prints: Approximately 2-1/2 yards total for block variety
  • Backing: 4 yards
  • Binding: 5/8 yard

If you prefer a more contemporary look, you might consider contrasting these traditional colors with a brighter palette, similar to the approach seen in the Leading Edge Quilt Pattern. However, for the true “Amber Fields” experience, sticking to earth tones is highly recommended.

Where to Buy Your Fabrics:
Find the perfect autumnal prints at these trusted retailers:

Construction Tips for Success

The key to a successful Amber Fields quilt lies in the accuracy of your cutting and the consistency of your seam allowance. Because the blocks are 12 inches finished, even a small deviation can lead to blocks that don’t square up correctly.

Pro Tips:

  • Nesting Seams: Always press your seams in alternating directions to ensure the intersections “nest” perfectly. This reduces bulk and improves alignment.
  • Scant 1/4 Inch: Use a scant 1/4-inch seam allowance to account for the fold of the fabric when pressing.
  • Starch Before Cutting: Lightly starching your fabric before cutting pieces for the four-patch units will help prevent shifting during sewing.

If you enjoy patterns with similar assembly logic, you might also find the Split Stars Quilt Pattern helpful for practicing these same techniques.

Download the Pattern and Get Started

Ready to begin your journey with the Amber Fields quilt? This pattern is available as a free PDF download, complete with detailed diagrams and cutting lists to guide you through every step.

Frequently Asked Questions

What is the skill level for Amber Fields?

This pattern is best suited for intermediate quilters or confident beginners who are comfortable with precise seam alignment and rotating blocks.
Can I make this quilt larger?

Yes. Since the quilt is made of 12-inch blocks, you can easily increase the size to a twin or queen by adding more rows and columns of blocks. For more throw-size inspiration, check out the Road to Fortune Throw.
Is the pattern fat-quarter friendly?

While the pattern specifies yardage for consistency, you can certainly use fat quarters for the “assorted prints” sections to achieve a scrappier, more varied look.

About the Designer: Kathie Holland
Kathie Holland is a recognized name in the quilting world, known for her ability to blend traditional block motifs with elegant color palettes. Her work often appears in major publications like AllPeopleQuilt, where she shares her passion for accessible yet beautiful designs that celebrate the heritage of quilting.Visit Designer Site

Join Our Quilting Community:
Share your progress and see how others have finished their Amber Fields quilts in our Facebook groups!

The Amber Fields pattern is more than just a quilt; it is a celebration of the textures and colors that make handmade items so special. By following the clear instructions provided by Kathie Holland, you will create a piece that is as durable as it is beautiful. Enjoy the process of selecting your fabrics and watching the field of gold come to life under your needle.

Clamshell Pillow Pattern: A Free Guide to Curved Piecing

0

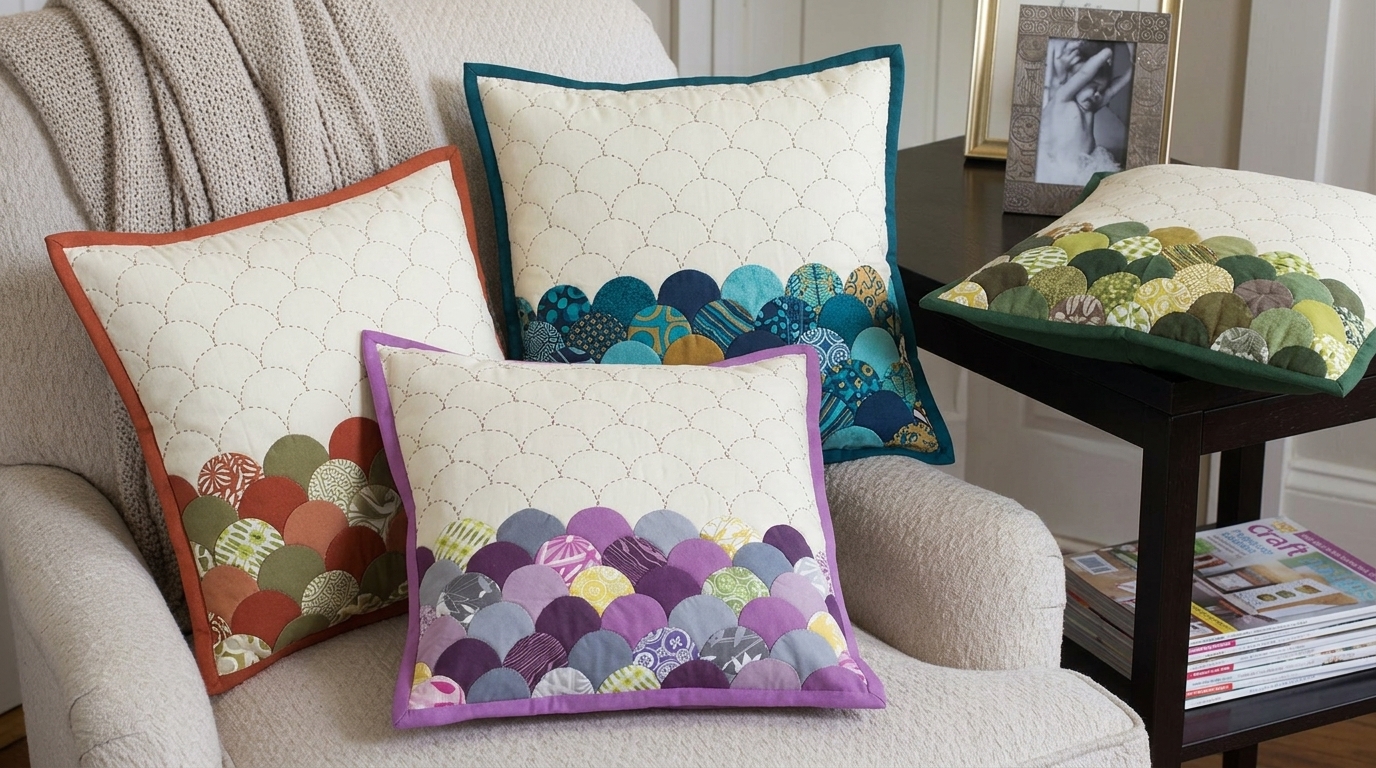
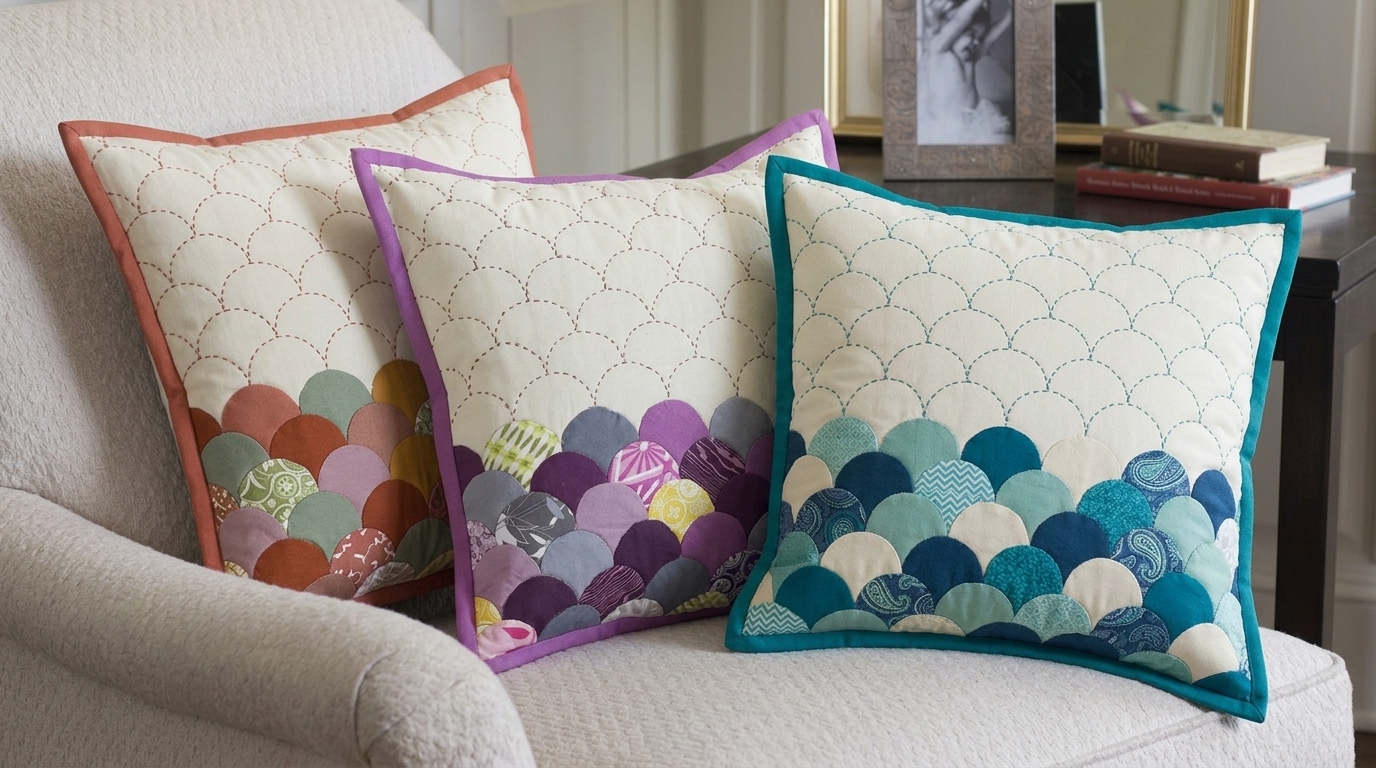
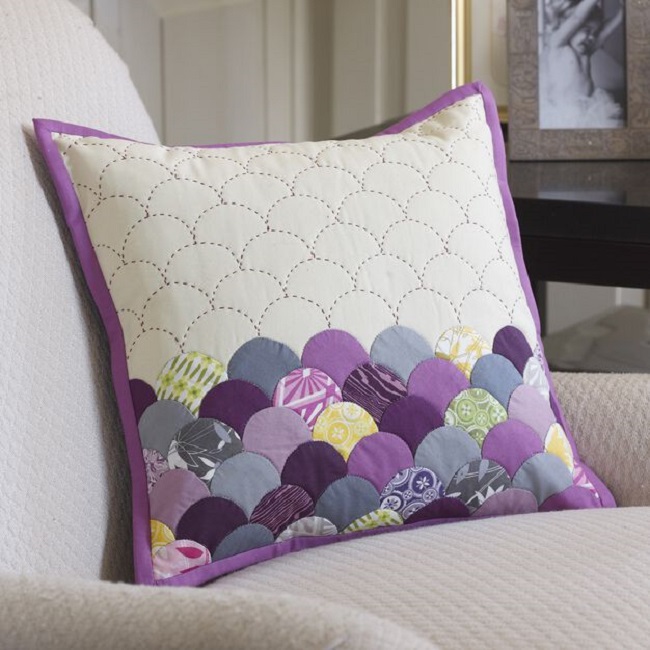
The Clamshell Pillow pattern is a sophisticated home decor project that brings the timeless elegance of curved piecing into the modern quilting room. This design utilizes the English Paper Piecing (EPP) technique to create a scalloped, scale-like texture that is both tactile and visually striking. By working with smaller clamshell units, quilters can master the precision of curved sewing without the intimidation of a full-sized quilt top.

This intermediate-level project is an excellent way to showcase a curated collection of fabric prints or to breathe new life into your scrap basket. The pattern typically finishes as a 14-inch square, making it a versatile accent for sofas, armchairs, or beds. With its focus on hand-appliqué and decorative hand-quilting, it serves as a relaxing “slow sewing” project that rewards patience with a high-end, professional finish.

Coats & Clark Clamshell Pillow: A Free Pattern for Mastering Curved Piecing

Clamshell Pillow Pattern

Why This Pattern Stands Out

The clamshell motif is a staple in quilting history, often admired for its graceful lines and the way it creates a sense of movement across a surface. Unlike traditional blocks that rely on straight seams, the Clamshell Pillow challenges you to work with 2-inch curved templates. This specific project from Yarnspirations and Coats & Clark emphasizes the use of high-quality threads to ensure the structural integrity of every curve.

Using English Paper Piecing for this design provides the stability needed for perfect “scales.” If you have already experimented with Chevron Shuffle Pillows or other geometric designs, transitioning to these soft curves will expand your technical repertoire significantly. The small scale of the pillow allows for experimentation with bold colors and varied textures that might feel overwhelming in a larger format.

Essential Materials and Fabric Notes

To achieve the best results, selecting the right materials is crucial for curved success. The pattern calls for 45 individual 2-inch clamshell paper templates, which act as the foundation for your fabric “shells.” You will also need a mix of assorted prints; surprisingly, four shells can often be cut from a single 5-inch charm square, making this a highly efficient project for those who love 100 modern patterns and precut-friendly designs.

Pro Tip: When basting your clamshells, use a high-quality thread like Coats Paper Piecing Thread. It is thin enough to minimize bulk but strong enough to hold the fabric taut against the template. Use small running stitches around the top curved edge to ensure a smooth, pucker-free silhouette.

For the background and finishing, the pattern suggests FreeSpirit Designer Essentials Cotton Linen for the front and coordinating cotton for the binding and backing. You will also need low-loft batting and a 14-inch pillow form to complete the assembly. If you are looking for more beginner-friendly quilt patterns to practice before tackling curves, consider starting with straight-line projects to build your confidence.

Step-by-Step Construction Highlights

The process begins by basting the fabric around the 2-inch paper templates. Once basted, the clamshells are arranged in rows—typically alternating between rows of seven and eight pieces. The “magic” happens during the hand-appliqué phase, where you stitch the top arcs of the shells to the pillow front, overlapping them to create the signature scale effect.

Clamshell Pillow Pattern

After the top is assembled, hand quilting adds the final layer of texture. Using a bold thread like Coats Bold Hand Quilting thread allows you to outline the silhouette of the shells, making the design pop against the background. This technique is similar to the intricate work seen in Scrappy Granny Squares, where the detail of the individual units defines the beauty of the whole piece.

Frequently Asked Questions

Is curved piecing too difficult for a beginner?

While curved piecing is considered an intermediate skill, using English Paper Piecing (EPP) makes it much more manageable. The paper template holds the shape for you, so you aren’t fighting the fabric as you sew.

Can I use a sewing machine for this pattern?

This specific pattern is designed for hand-appliqué and hand-quilting to achieve a traditional look. However, you can use a machine for the final pillow assembly and binding.

What size pillow form do I need?

The instructions are optimized for a 14-inch pillow form, though you can easily scale the background fabric if you prefer a larger 16-inch or 18-inch cushion.

Join Our Quilting Community:Share your clamshell progress and get advice from thousands of fellow quilters in our dedicated Facebook groups:

About the Designer: YarnspirationsYarnspirations is a premier destination for makers, offering an extensive library of free patterns for quilting, knitting, and crochet. As the home of trusted brands like Coats & Clark, they provide high-quality resources and technical guides designed to help crafters of all skill levels succeed. Their patterns are known for clear instructions and a commitment to the heritage of textile arts.

Visit Website

Clamshell Pillow Pattern

The Clamshell Pillow is more than just a decorative item; it is a celebration of the craftsmanship that defines quilting. Whether you choose a monochromatic palette for a modern feel or a scrappy mix for a vintage look, this project is sure to become a focal point in your home. Take your time with the hand-stitching, enjoy the rhythm of the curves, and watch as your fabric scraps transform into a beautiful, textured masterpiece.

Navajo Seasons Quilt Pattern: Free Geometric PDF Guide

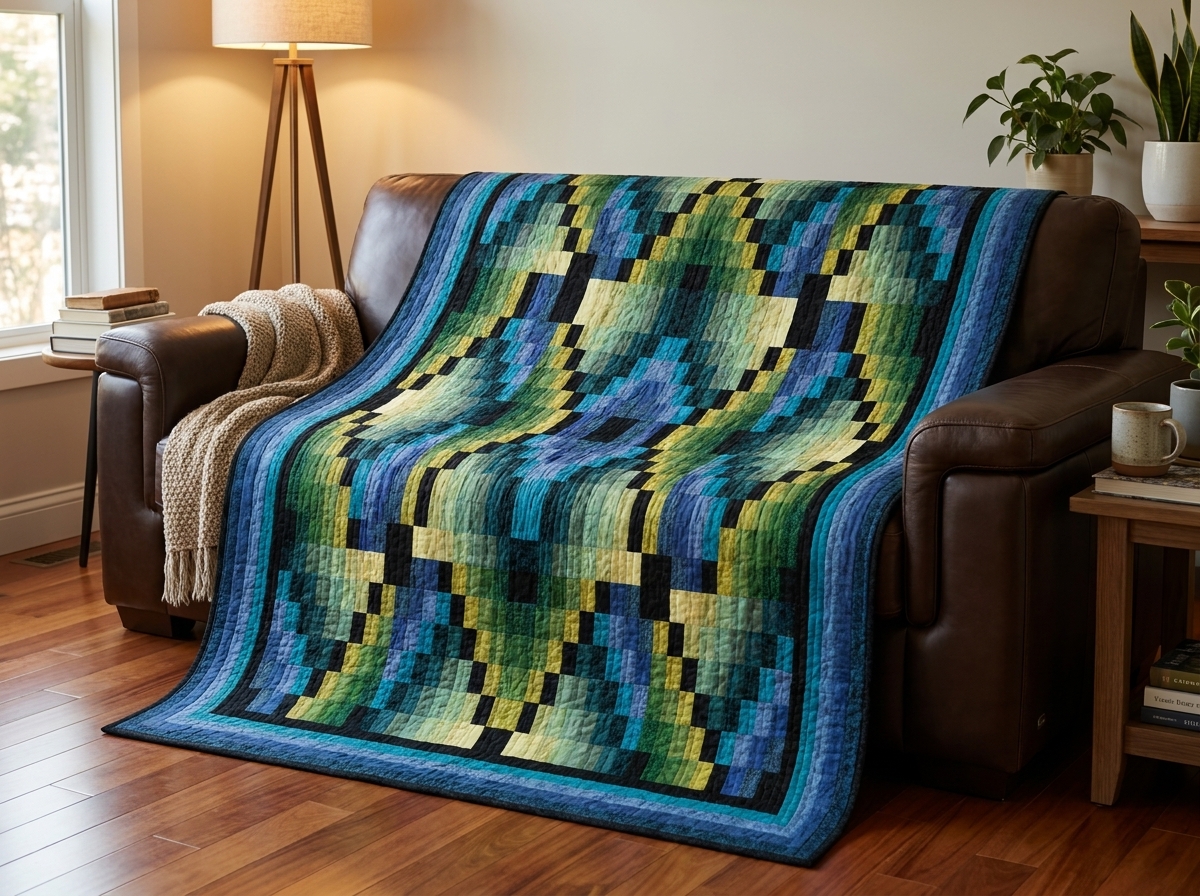
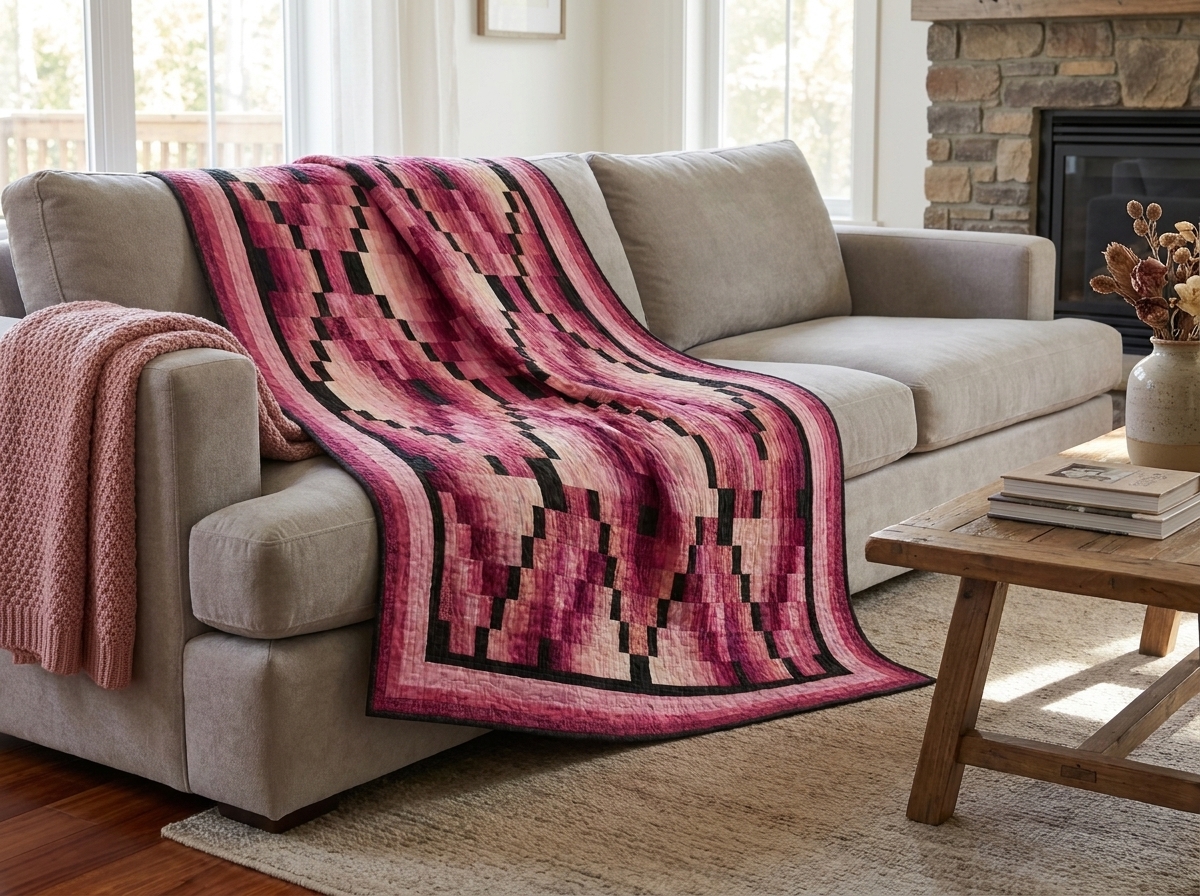
Navajo quilting patterns offer a striking aesthetic that blends traditional geometric motifs with modern quilting techniques. The Navajo Seasons quilt pattern is a premier example of how simple shapes can create a complex, culturally inspired design using a bargello-style construction. This free PDF pattern is designed to be accessible yet visually sophisticated, making it a favorite for those who appreciate the legacy of Southwestern textile art.

The pattern utilizes a clever strip-piecing method that allows quilters to achieve intricate color gradients without the need for individual block assembly. Whether you are looking to create a small wall hanging or a majestic king-size bedspread, the Navajo Seasons layout provides a versatile framework for exploring color value and geometric flow. Its structured design ensures that even a confident beginner can produce a professional-grade finish.

Navajo Seasons Quilt Pattern: A Free Geometric PDF Guide

Navajo Seasons Quilt Pattern

Why This Pattern Stands Out

The Navajo Seasons quilt is celebrated for its rhythmic, wave-like appearance that mimics the texture of traditional woven blankets. Unlike many geometric quilts that rely on complex templates, this design focuses on strip piecing and rotary cutting. This approach significantly reduces the time spent at the cutting table while maintaining high precision in the final layout.

The versatility of this pattern is one of its strongest features. It includes instructions for five distinct sizes, ranging from a 24″ x 30″ miniature to a full 102″ x 103.5″ king size. This scalability makes it perfect for various projects, whether you are crafting a quick gift or a long-term heirloom piece.

For those who enjoy geometric challenges, this pattern pairs beautifully with other classic designs. You might consider exploring the Lone Star Quilt Block if you appreciate star-centered motifs, or check out the Stardust Quilting Pattern for a more modern take on geometric stars.

Materials and Fabric Selection

To achieve the “Navajo” look, fabric selection is critical. The pattern typically uses a wide range of values—from light to dark—to create the illusion of depth and movement. Earthy tones like terracotta, turquoise, and deep ochre are traditional choices, but the design also looks stunning in modern monochromatic palettes or seasonal “Winter” and “Summer” colorways.

If you are working with a collection of precuts, such as a jelly roll, you may find that this strip-based construction is highly compatible. For more inspiration on using pre-cut strips, our Free Jelly Roll Quilt Pattern guide offers excellent tips for maximizing your fabric efficiency.

Where to Buy Fabrics:For the best selection of quilting cottons, we recommend these trusted online retailers:

Step-by-Step Construction Notes

The construction of the Navajo Seasons quilt is divided into three main phases: strip assembly, segmenting, and final arrangement. Because the pattern relies on staggered seams, accuracy in your seam allowance is paramount. A scant 1/4-inch seam will ensure that your segments align perfectly as the bargello pattern develops.

Navajo Seasons Quilt Pattern

If you are new to this style, you might want to practice with a simpler project first. The Twirling Stars Quilt Pattern is an excellent beginner-friendly design that helps build confidence in seam precision and fabric rotation.

Tips for Success:

  • Label Your Strips: Before sewing, label each fabric strip according to the pattern’s fabric guide to avoid confusion during the bargello shift.
  • Use Starch: Spraying your fabric with starch before cutting can help maintain the integrity of long strips and prevent stretching.
  • Nesting Seams: When joining rows, press seams in alternating directions to allow them to “nest” for perfectly flat intersections.
Important Note: This pattern includes detailed charts for multiple sizes. Always double-check your cutting requirements for the specific size you intend to make before making the first cut.

Frequently Asked Questions

Is this pattern suitable for beginners?
Yes, it is suitable for confident beginners. While the design looks complex, the strip-piecing technique is straightforward as long as you maintain a consistent seam allowance.

What is the finished size?
The pattern is highly scalable. It provides measurements for Miniature, Crib/Lap, Twin, Queen, and King sizes. Check the PDF for specific dimensions for each.

Do I need special tools for the Navajo Seasons pattern?
A standard rotary cutter, a long quilting ruler, and a cutting mat are essential. A 1/4-inch quilting foot for your sewing machine is also highly recommended for accuracy.

About the Designer:Maria is the creative force behind Scissortail Quilting. With a deep passion for geometric precision and traditional storytelling through fabric, she specializes in patterns that bridge the gap between classic artistry and modern construction techniques. Her work often features intricate layouts that are simplified for the home sewist.

Join Our Facebook Community:Connect with thousands of fellow quilters, share your Navajo Seasons progress, and find daily inspiration in our community groups:

Navajo Seasons Quilt Pattern

The Navajo Seasons quilt is more than just a pattern; it is an exploration of color and heritage. By following the detailed instructions in this free PDF, you can create a stunning piece of art that honors the geometric tradition of the Southwest. Happy quilting!

Pathway Block pattern free

The Pathway Block is a stunning geometric design that offers a fresh, modern take on traditional patchwork. Created by the talented designers at Art Gallery Fabrics, this 12-inch finished block uses a clever arrangement of squares and rectangles to create a visual “pathway” that guides the eye across the quilt top. Its clean lines and architectural feel make it an ideal choice for quilters looking to experiment with bold color stories or minimalist aesthetics without the complexity of paper piecing.

Whether you are planning a full-sized bed quilt or a series of decorative throw pillows, this pattern provides a versatile foundation for any project. The construction relies on accurate 1/4-inch seams and thoughtful fabric selection to ensure the geometric “paths” maintain their sharp definition. Because the design utilizes five distinct fabric choices, it allows for a beautiful gradient effect or a high-contrast look that truly pops against a neutral background.

Pathway Quilt Block: A Free Modern Pattern by Art Gallery Fabrics

Pathway Quilt Block A Free Modern Pattern by Art Gallery Fabrics

Why the Pathway Block Stands Out

The Pathway Block is a standout choice for modern quilters due to its balanced symmetry and dynamic movement. Unlike blocks that rely on complex curves or tiny pieces, the Pathway design uses standard rectangular and square units to build its intricate appearance. This makes the assembly process relatively fast, allowing you to create multiple blocks for a larger layout in just a few sewing sessions.

One of the most appealing aspects of this pattern is its “scrap-friendly” nature. While the official instructions suggest five specific fabrics, you can easily adapt the design to use up your favorite fat quarters or long strips from your stash. By varying the placement of light and dark values, you can change the block’s focus from the central square to the outer paths, offering endless customization opportunities for your next masterpiece.

Materials and Fabric Requirements

To achieve the best results with the Pathway Block, Art Gallery Fabrics recommends using high-quality quilting cotton. The PDF pattern is designed for a 12″ x 12″ finished block. You will need five different fabrics (labeled A through E in the guide) to maintain the intended design depth. Fabric A typically serves as the central anchor, while Fabrics B through E create the radiating “paths” and corners.

Before you begin cutting, ensure your fabric is pressed flat to avoid any distortion. Since this block relies on the alignment of several thin strips, precision is key. A rotary cutter and a clear acrylic ruler are essential tools for getting the sharp edges required for this geometric layout. If you enjoy this type of structured design, you might also be interested in learning how to sew a Churn Dash quilt block, which shares a similar traditional-meets-modern appeal.

Pro Tip: When sewing the long rectangular strips to the center unit, press your seams toward the darker fabric. This prevents “shadowing” and helps your seams nest perfectly when you join multiple blocks together for a quilt top.

Expanding Your Quilt Library

If the Pathway Block has sparked your interest in modern geometric patterns, there are plenty of other free resources to explore. For instance, the Star Quilt Pattern offers a more celestial take on symmetry, while the Split Rail Summer pattern provides an excellent way to practice strip piecing—a skill that is very useful for the Pathway Block.

Combining different block styles is a fantastic way to create a sampler quilt. You could alternate the Pathway Block with a more traditional design like the Entwined Star to create a unique visual contrast. Exploring these various designs helps refine your piecing skills and expands your understanding of quilt composition.

Download the Free Pathway Block Pattern

Ready to start stitching? You can access the full PDF instructions for the Pathway Block directly from the link below. This document includes a detailed cutting list, assembly diagrams, and fabric placement guides to ensure your block turns out perfectly.

Pathway Quilt Block A Free Modern Pattern by Art Gallery Fabrics

Frequently Asked Questions

What is the skill level for the Pathway Block?
This pattern is rated as Advanced Beginner. While it uses straight seams, the number of pieces and the need for precise alignment require a bit more attention than a basic four-patch block.

Can I resize the block?
The current pattern is for a 12-inch finished block. While you can mathematically scale the pieces to create a 6-inch or 18-inch version, we recommend following the official PDF measurements first to understand the construction logic.

How many fabrics do I need?
The original design uses 5 fabrics. However, you can achieve a “scrappy” look by using many different fabrics or a minimalist look by using just two high-contrast colors.

About the Designer: Art Gallery Fabrics
Art Gallery Fabrics (AGF) is a world-renowned manufacturer of premium quilting cottons, known for their “feel-it-to-believe-it” soft handle and sophisticated modern prints. Their design house, AGF Studio, produces hundreds of free patterns and tutorials each year, empowering quilters of all levels to create contemporary art through fabric.

Join the Quilting Community
Share your progress, ask for advice, and see how other quilters have interpreted the Pathway Block in these active Facebook communities:

Where to Buy Fabrics
Looking for the perfect Art Gallery Fabrics to complete your Pathway Block? Check out these trusted online retailers:

The Pathway Block is more than just a simple geometric exercise; it is an invitation to explore the interplay of light and structure. By following the detailed instructions provided by Art Gallery Fabrics, you can master a block that looks far more complex than it is to sew. We hope this guide inspires you to pick up your rotary cutter and start paving your own creative path in your next quilting project. Happy sewing!

Baby Quilt Pattern

The GO! Framed Charm Squares to Go Baby Quilt pattern is a streamlined, professional design created to help quilters produce a high-quality gift or nursery accent in a fraction of the time. This project specifically focuses on showcasing 5-inch charm squares by surrounding them with crisp, clean frames that provide a modern and organized secondary pattern. Whether you are using a dedicated fabric cutting system or traditional rotary cutting methods, this layout ensures that your favorite fabric prints remain the star of the show.

This pattern is exceptionally versatile, making it an ideal choice for last-minute baby shower gifts or charity quilting projects. By utilizing pre-cut charm packs, you can eliminate much of the initial cutting stress and move straight to the sewing machine. The finished size is manageable and practical for daily use, offering a perfect balance between a decorative accessory and a functional blanket for a crib or stroller. Before you begin, you may want to review our quilt size chart to see how this layout compares to other standard nursery dimensions.

GO! Framed Charm Squares to Go: A Modern Free Baby Quilt Pattern

Baby Quilt Pattern
Baby Quilt Pattern

Why This Pattern is a Must-Try for Beginners

The primary appeal of the Framed Charm Squares design lies in its geometric simplicity. Unlike complex star patterns or intricate curves, this quilt relies on straight-line piecing and consistent seam allowances. For those who are just starting their journey, this project serves as an excellent introduction to quilting for beginners, allowing you to practice “nesting” your seams to achieve perfectly aligned corners.

Beyond its technical accessibility, the framing technique adds a level of sophistication that isn’t always present in basic patchwork quilts. By placing a solid or low-volume fabric around each charm square, you create “breathing room” for the eyes. This is particularly helpful if you are using a fabric collection with many busy or high-contrast prints, as the frames help to unify the overall composition and prevent the design from feeling cluttered.

Materials and Fabric Requirements

To complete this project, you will need a combination of pre-cuts and yardage. The pattern is designed to maximize fabric efficiency while maintaining a high-end look. If you are looking for more inspiration, you can browse our collection of free quilt patterns to find similar scrap-friendly designs.

  • Charm Squares: You will need 20 squares (5″ x 5″). This is exactly half of a standard charm pack, allowing you to make two quilt tops from a single pack if desired.
  • Accent/Frame Fabric: Approximately 1 yard of a coordinating fabric to create the frames and the inner borders.
  • Backing Fabric: 1 1/2 yards of fabric.
  • Binding: 1/2 yard for a standard 2.5″ double-fold binding.
  • Batting: A piece measuring at least 40″ x 50″.
Baby Quilt Pattern
Baby Quilt Pattern
PRO TIP: To ensure your frames look professional, use a scant 1/4 inch seam allowance. This slightly smaller seam compensates for the fold of the fabric, ensuring your blocks finish at the exact size required by the pattern.

Download the Pattern and Watch the Tutorial

The full PDF pattern includes detailed cutting charts and assembly diagrams to guide you through every step of the process. If you prefer visual learning, the accompanying tutorial provides a deep dive into using fabric cutters for maximum precision.

Frequently Asked Questions

What is the finished size of this baby quilt?

The finished quilt measures approximately 36″ x 45″, which is a standard size for infants and toddlers.

Baby Quilt Pattern
Baby Quilt Pattern

Can I make this without an AccuQuilt cutter?

Yes. While the pattern is optimized for the GO! Cutting System, you can use a standard rotary cutter and ruler. Simply cut your squares to 5″ and follow the strip-cutting instructions provided in the PDF for the frames.

Is this pattern suitable for complete beginners?

Absolutely. It is classified as an Easy or Beginner skill level project. If you are still gathering your tools, our quilting supplies guide can help you identify exactly what you need to start.

Where to Buy Fabrics & Tools:

About the Designer: AccuQuilt
AccuQuilt is a leader in the quilting industry, famous for their innovative fabric cutting machines that help quilters “cut time so they can quilt more.” Their patterns are rigorously tested for accuracy and ease of use, making them a trusted source for both hobbyists and professionals.Visit Website

Join Our Quilting Community:
Connect with other makers, share your finished Framed Charm Squares quilt, and get advice on fabric choices in these active Facebook groups:

Baby Quilt Pattern
Baby Quilt Pattern

This baby quilt is more than just a quick sewing project; it is an opportunity to practice precision while creating something meaningful. By following the structured layout provided by AccuQuilt, you can ensure that your finished piece has the durability and visual appeal required for a cherished heirloom. Gather your favorite charm pack, select a high-quality background fabric, and enjoy the rhythmic process of framing your way to a beautiful finished quilt.